
The beautiful thing about education is that nobody can take it away from you! — B.B. King
Graduation season is quickly approaching. This is the time of year where you get celebrate the graduate in your life. Whatever the degree, it’s a huge pat on the back to them for staying committed to their goal. Looking back on my own college career, it was one of the most stressful times in my life. It was a constant juggling act of parenting, work, school, and maintaining my sanity. Thank God, I had a great support system because I was always two seconds away from quitting. A piece of advice that helped get me through was that, “it is only a moment in time.”
Decorating your graduation caps is a fun way to showcase or sum your journey. You get to make it unique to your experience or he respective grad. Plus it’s a great way for family to spot you on the graduation floor. For this graduate, I started with a quote and let the creativity flow from there.
Things You Need:
- Ruler
- Scissors
- Acrylic Paint
- Cardstock
- Tacky Glue
- Gems
- Scrapbook Stickers(optional)
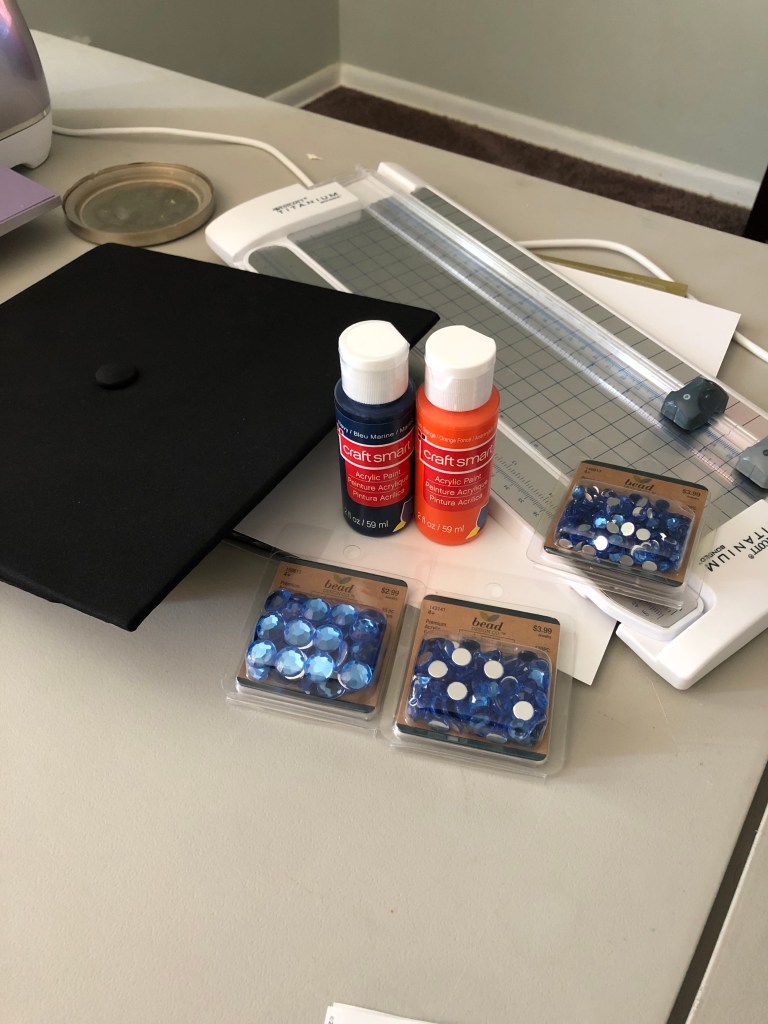
Step One: Prep Work
Start by cutting your card stock the same size of the graduation cap. Working on card stock is a great way to decorate without it being permanent. Remember to mark the button on the cap.
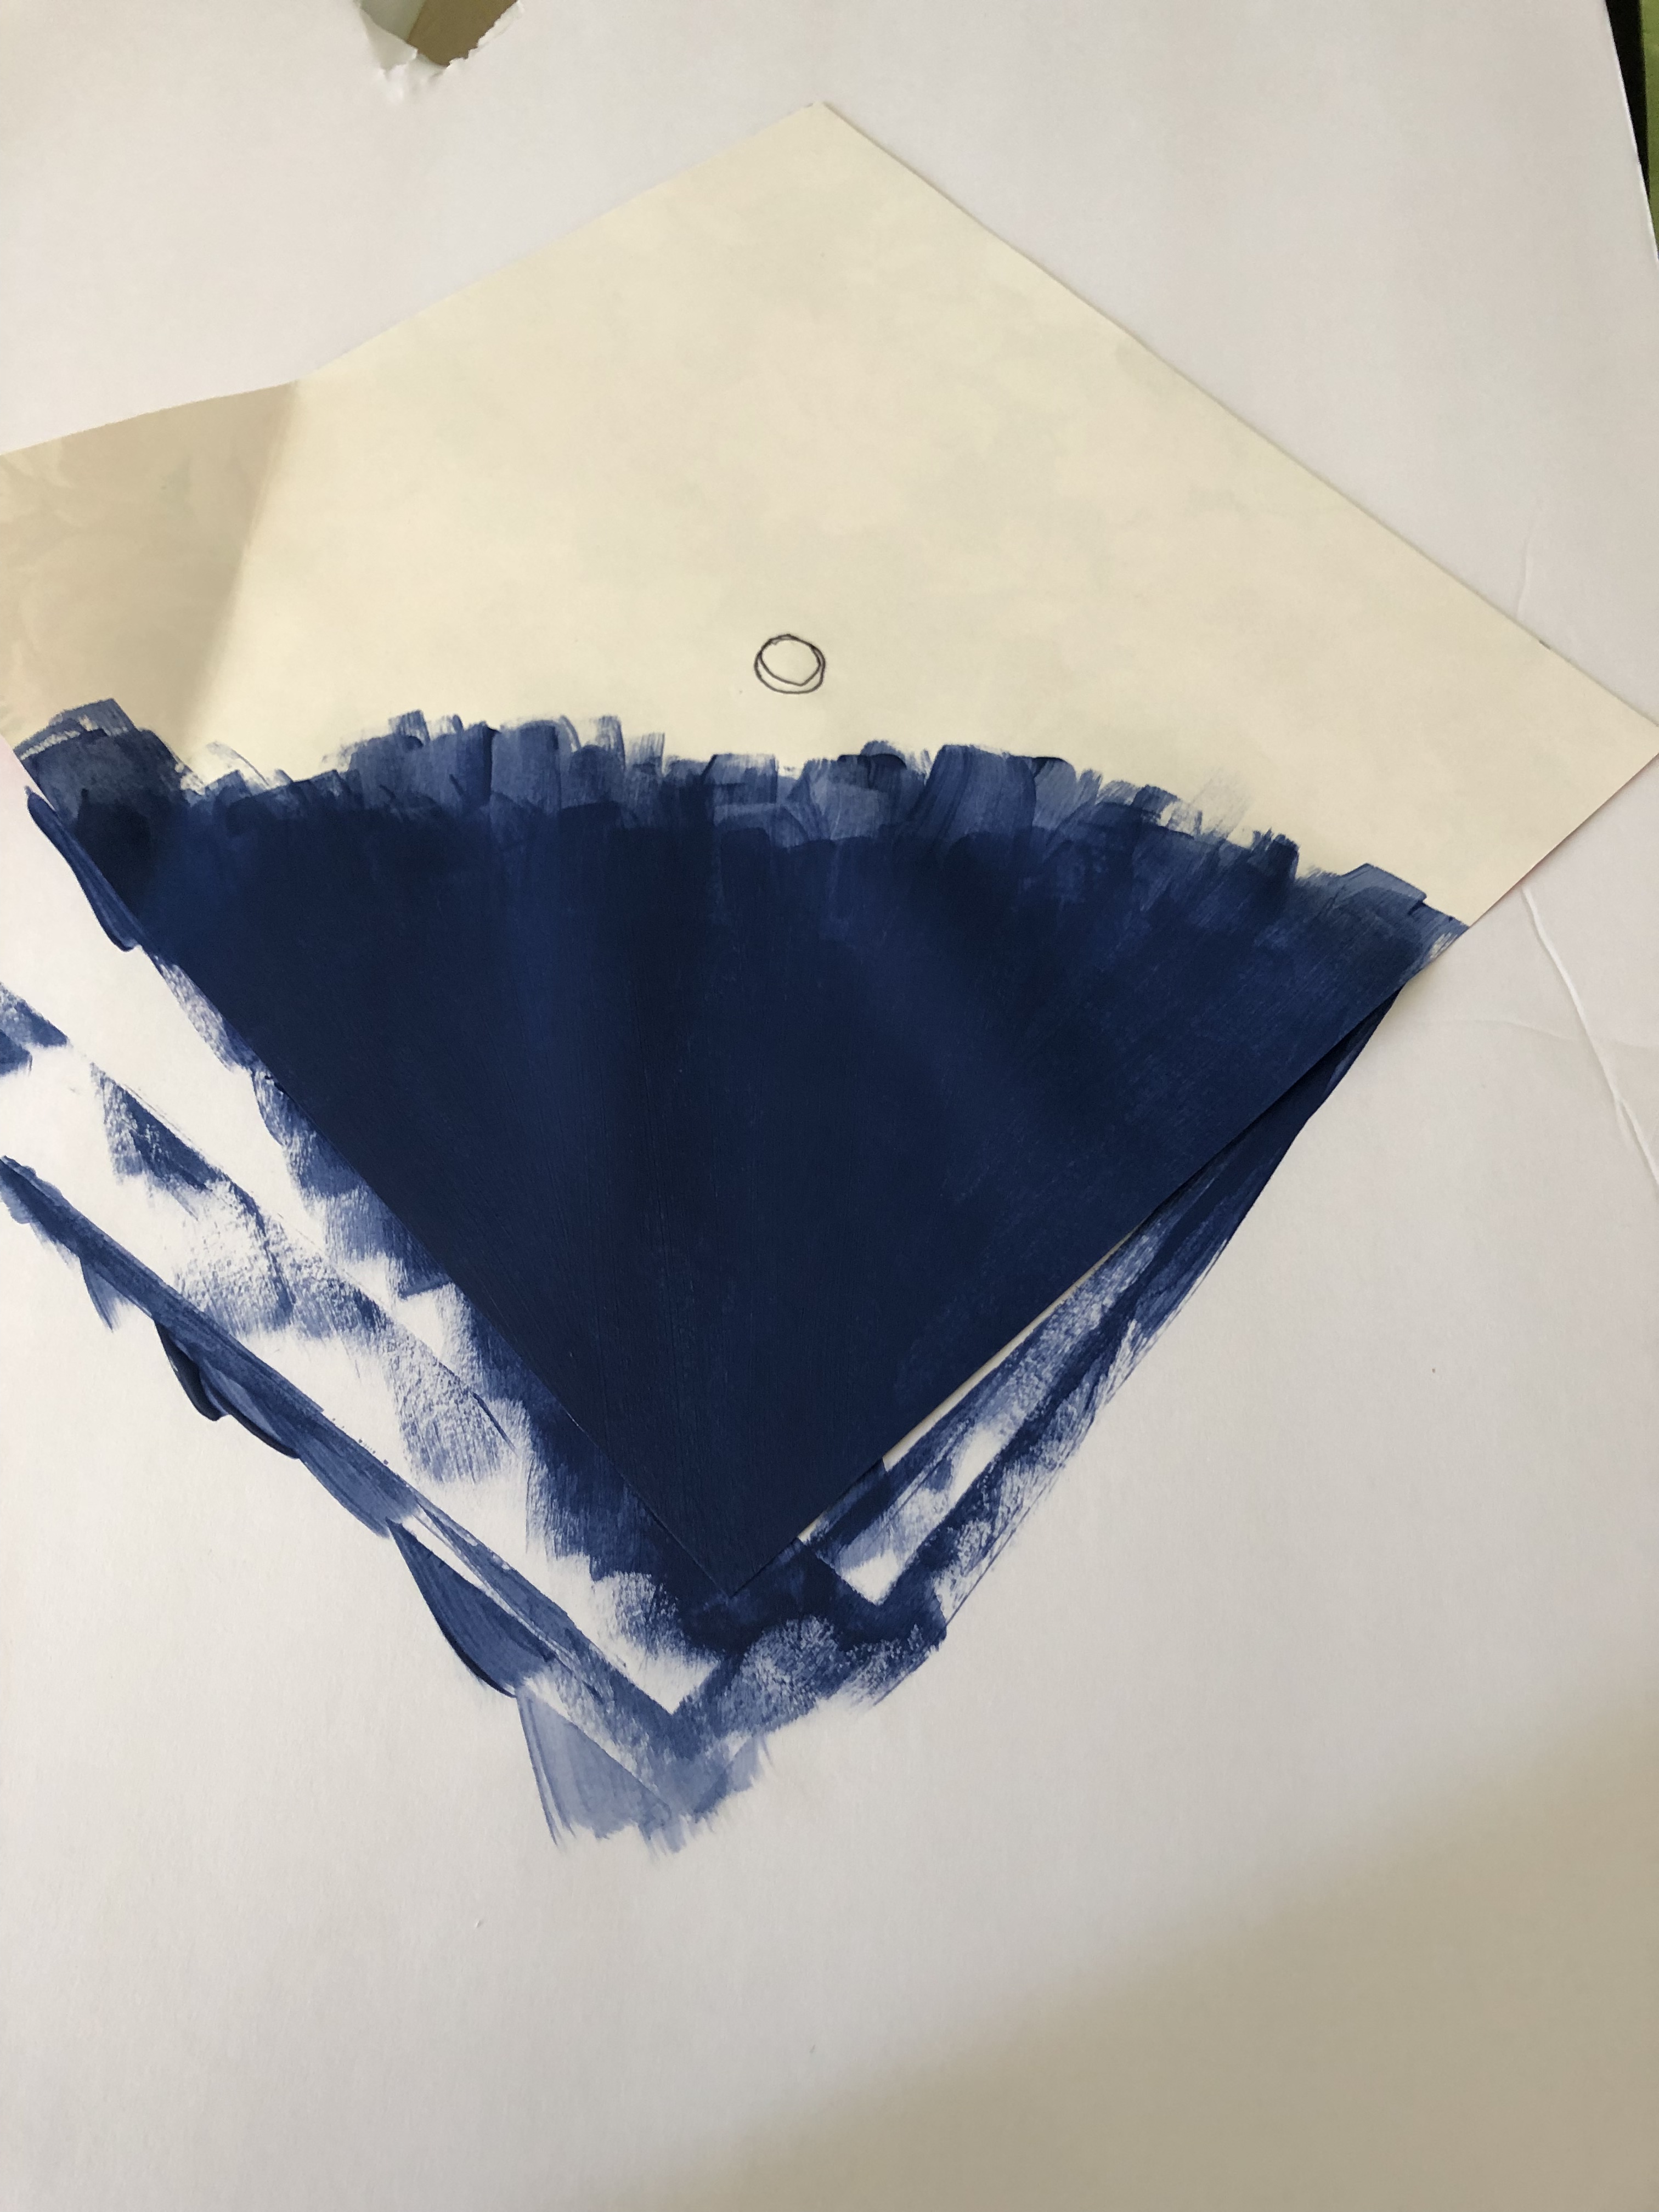
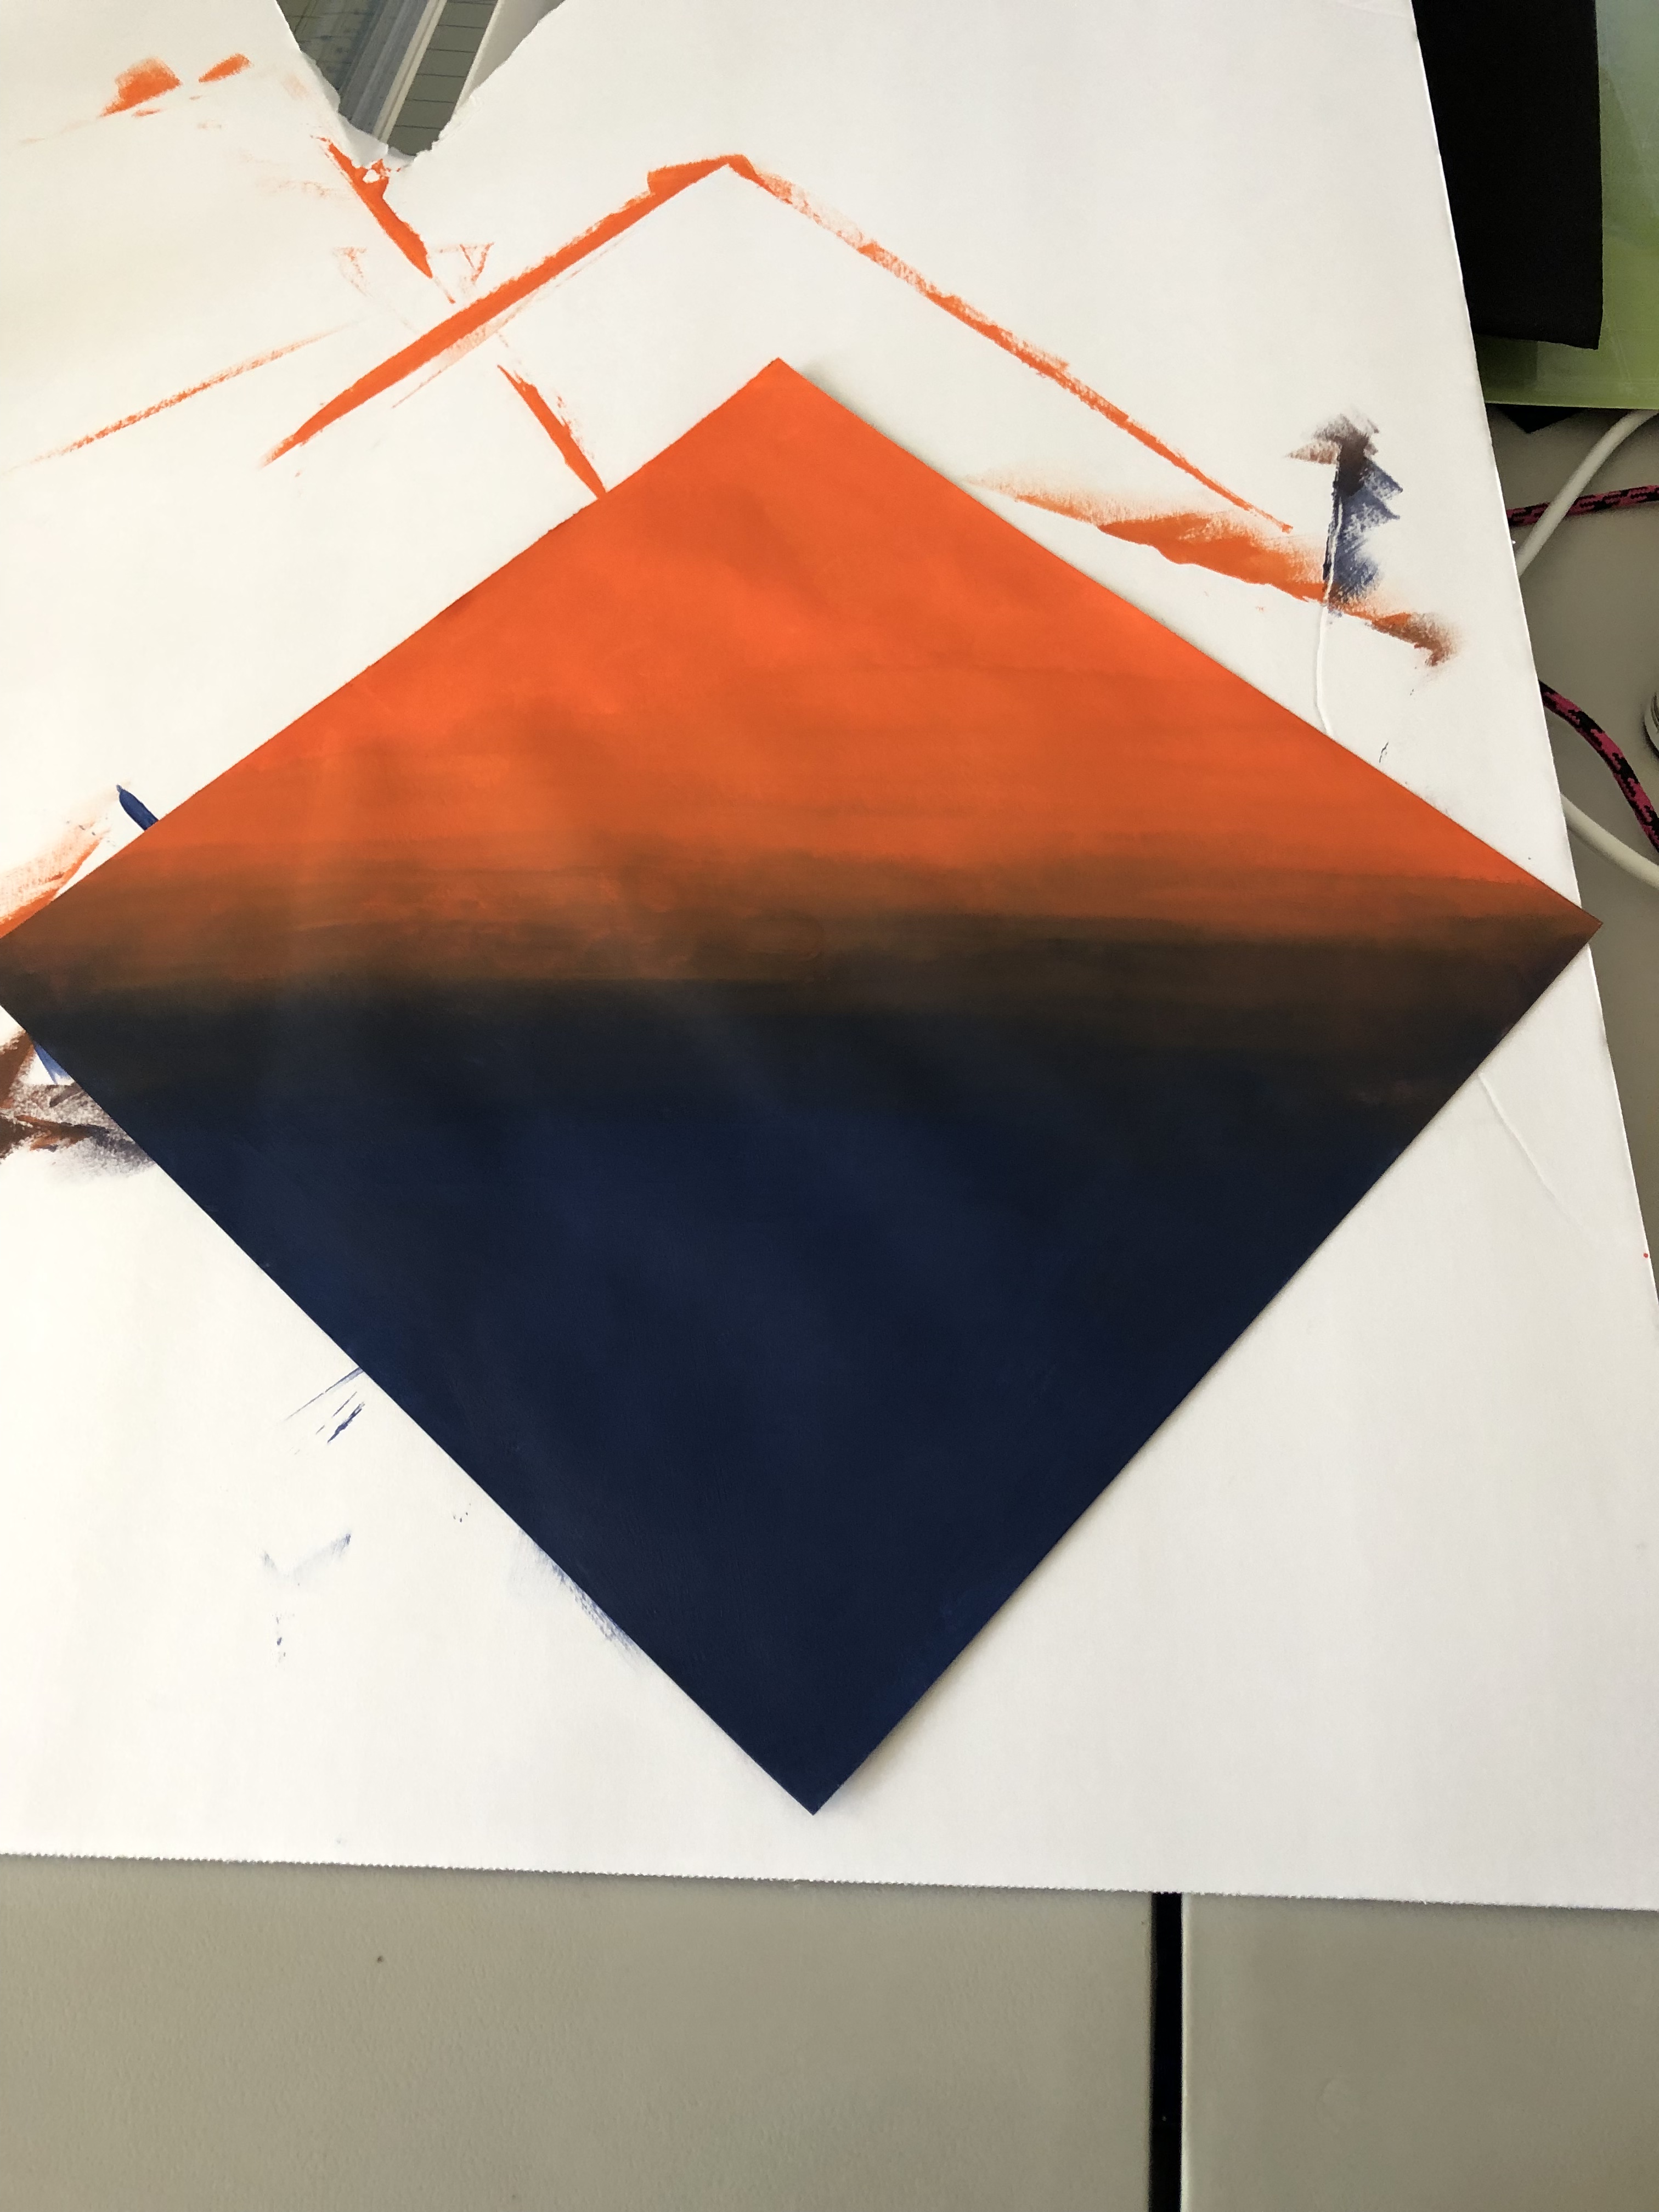
Step Two: Paint the background
I wanted to incorporate the school’s colors in to the cap, so I went with an
ombré of the two colors. To achieve an ombré effect start by painting the two colors (color #1-navy; color #2-orange)on the opposite ends. To blend the colors in the center add a small amount of color #2 (orange) to color #1 (navy) on the card stock. Use horizontal strokes and begin blending back and forth into color #2 (orange). Continue until the lines are no longer noticeable. Don’t forget to paint the small circle that will cover the button on the graduation cap.
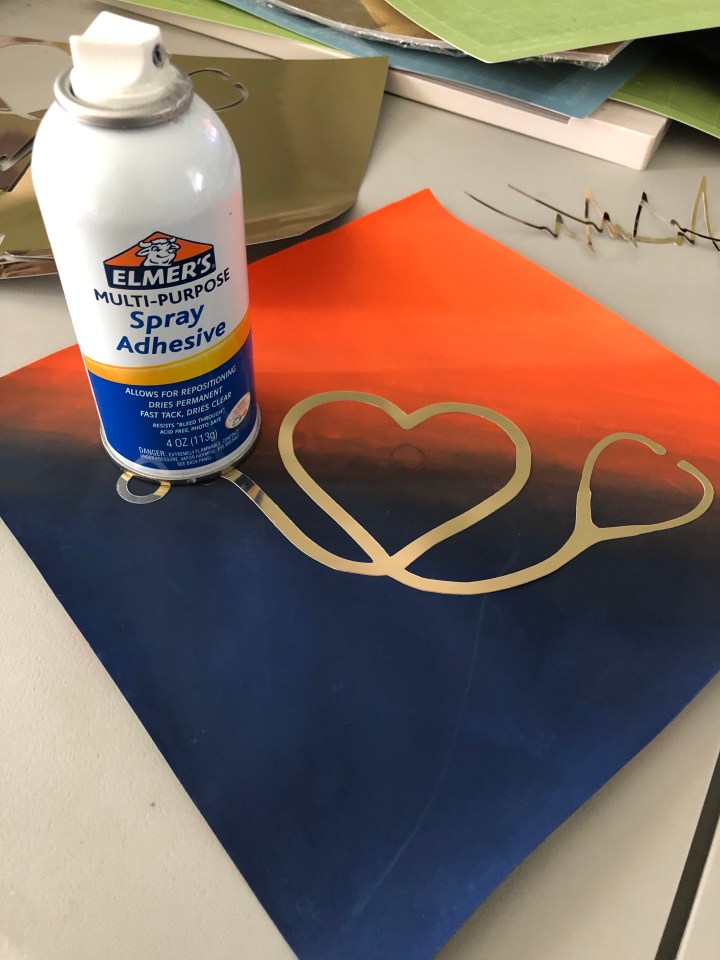
Step Three: Glue Quote
Use a Cricut or scrapbook stickers to embellish the cap to your liking. Spray glue is great to use when you are working with delicate materials. Use tweezers to place the embellishments onto the cap.
Step Four: Secure Card Stock to Cap
Use an exacto knife to remove the center button guide. Put tacky glue on the top of the graduation cap and and press the card stock firmly down onto the cap.
Step Five: Add Gems
Use tacky glue to add gems to the card stock.
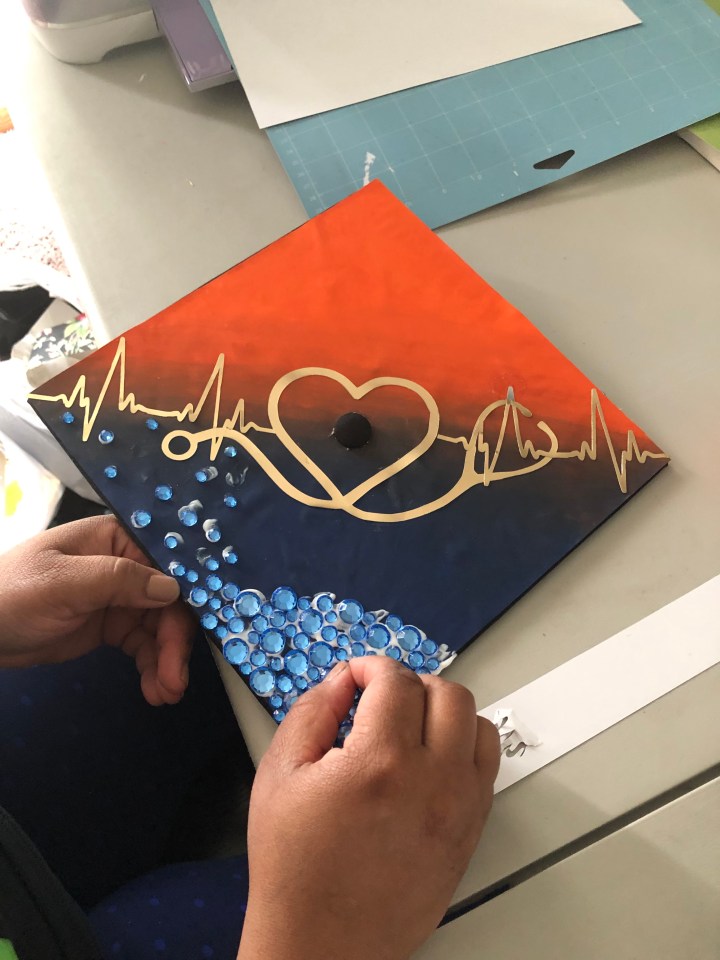
Allow graduation cap to dry overnight and add more gems if needed.

You are now ready to take your walk across the stage! Markia, congratulations on a job well done! To all the other graduates, this is your season of celebration. Enjoy it!

I love it so much! Got me walking around the house in it just because! 🤷🏾♀️ Thank you so much again!! ❤️
LikeLike