Happy Singles Awareness Day! — Valentine’s Day
Oh Valentine’s Day…
I have a love/hate relationship with Valentine’s Day. Love is floating around and at every turn. A warm memory I have of that day is always going with my grandpa to get a box of Whitman’s Sampler assorted chocolate for my grandma. Their exchange of love was so small but big in my young mind.
But…
Cupid also has a way of letting you know he forgot you, again. LOL. Every year I tell myself don’t let some hallmark holiday get you in a funk. And every year it happens. Single slaps me in the face. This year I decided to slap it back in the face and host a Galentine’s Day party. I wanted to take some time to celebrate some ladies in my life with a brunch!
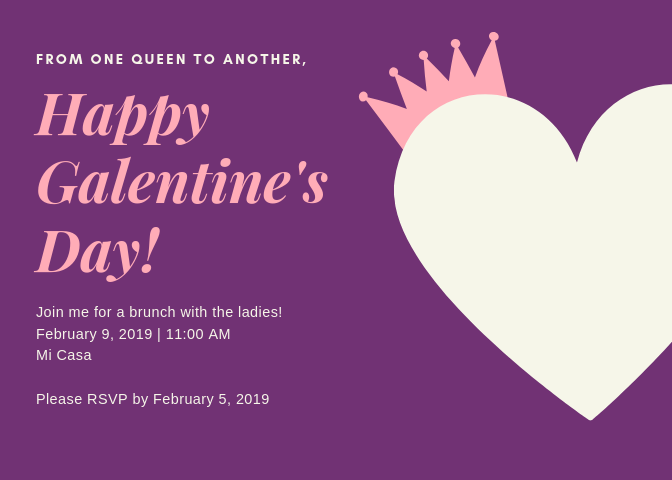
Invitations
The foundation to any party an attention grabbing invitation. Canva is great online graphic design website that has tons of templates to choose from. Invitations can be as simple or elaborate as you wish.
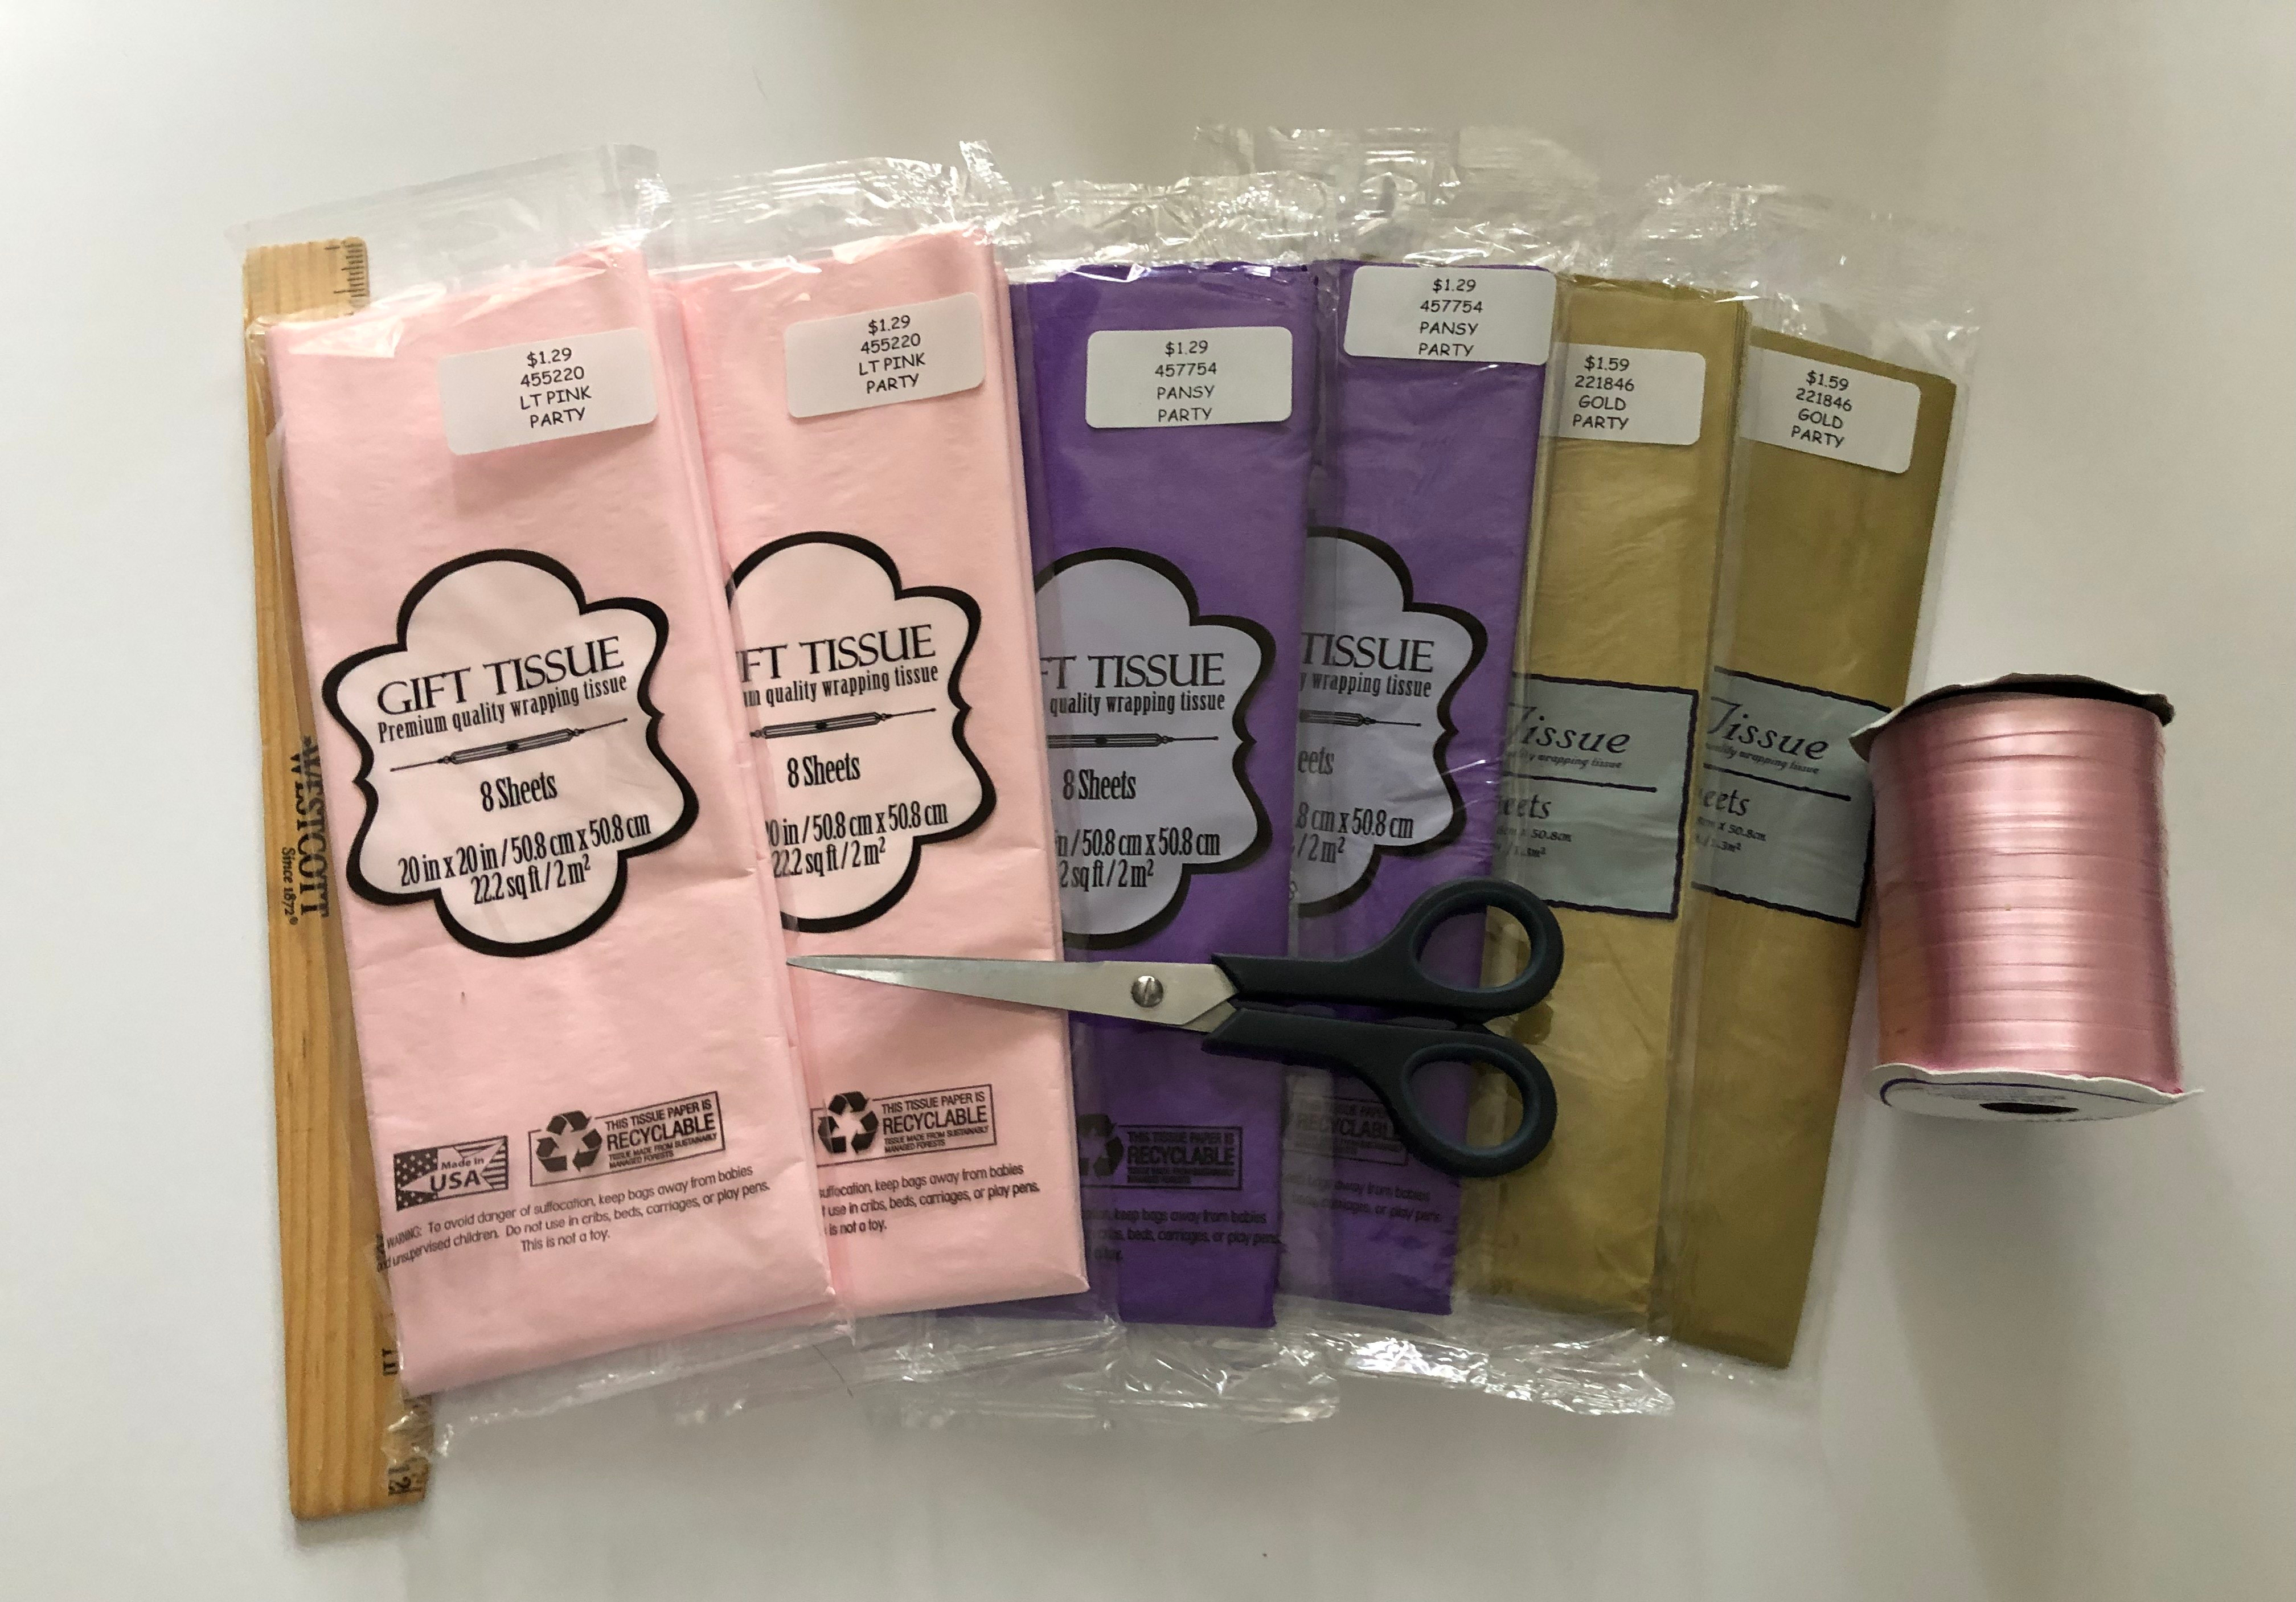
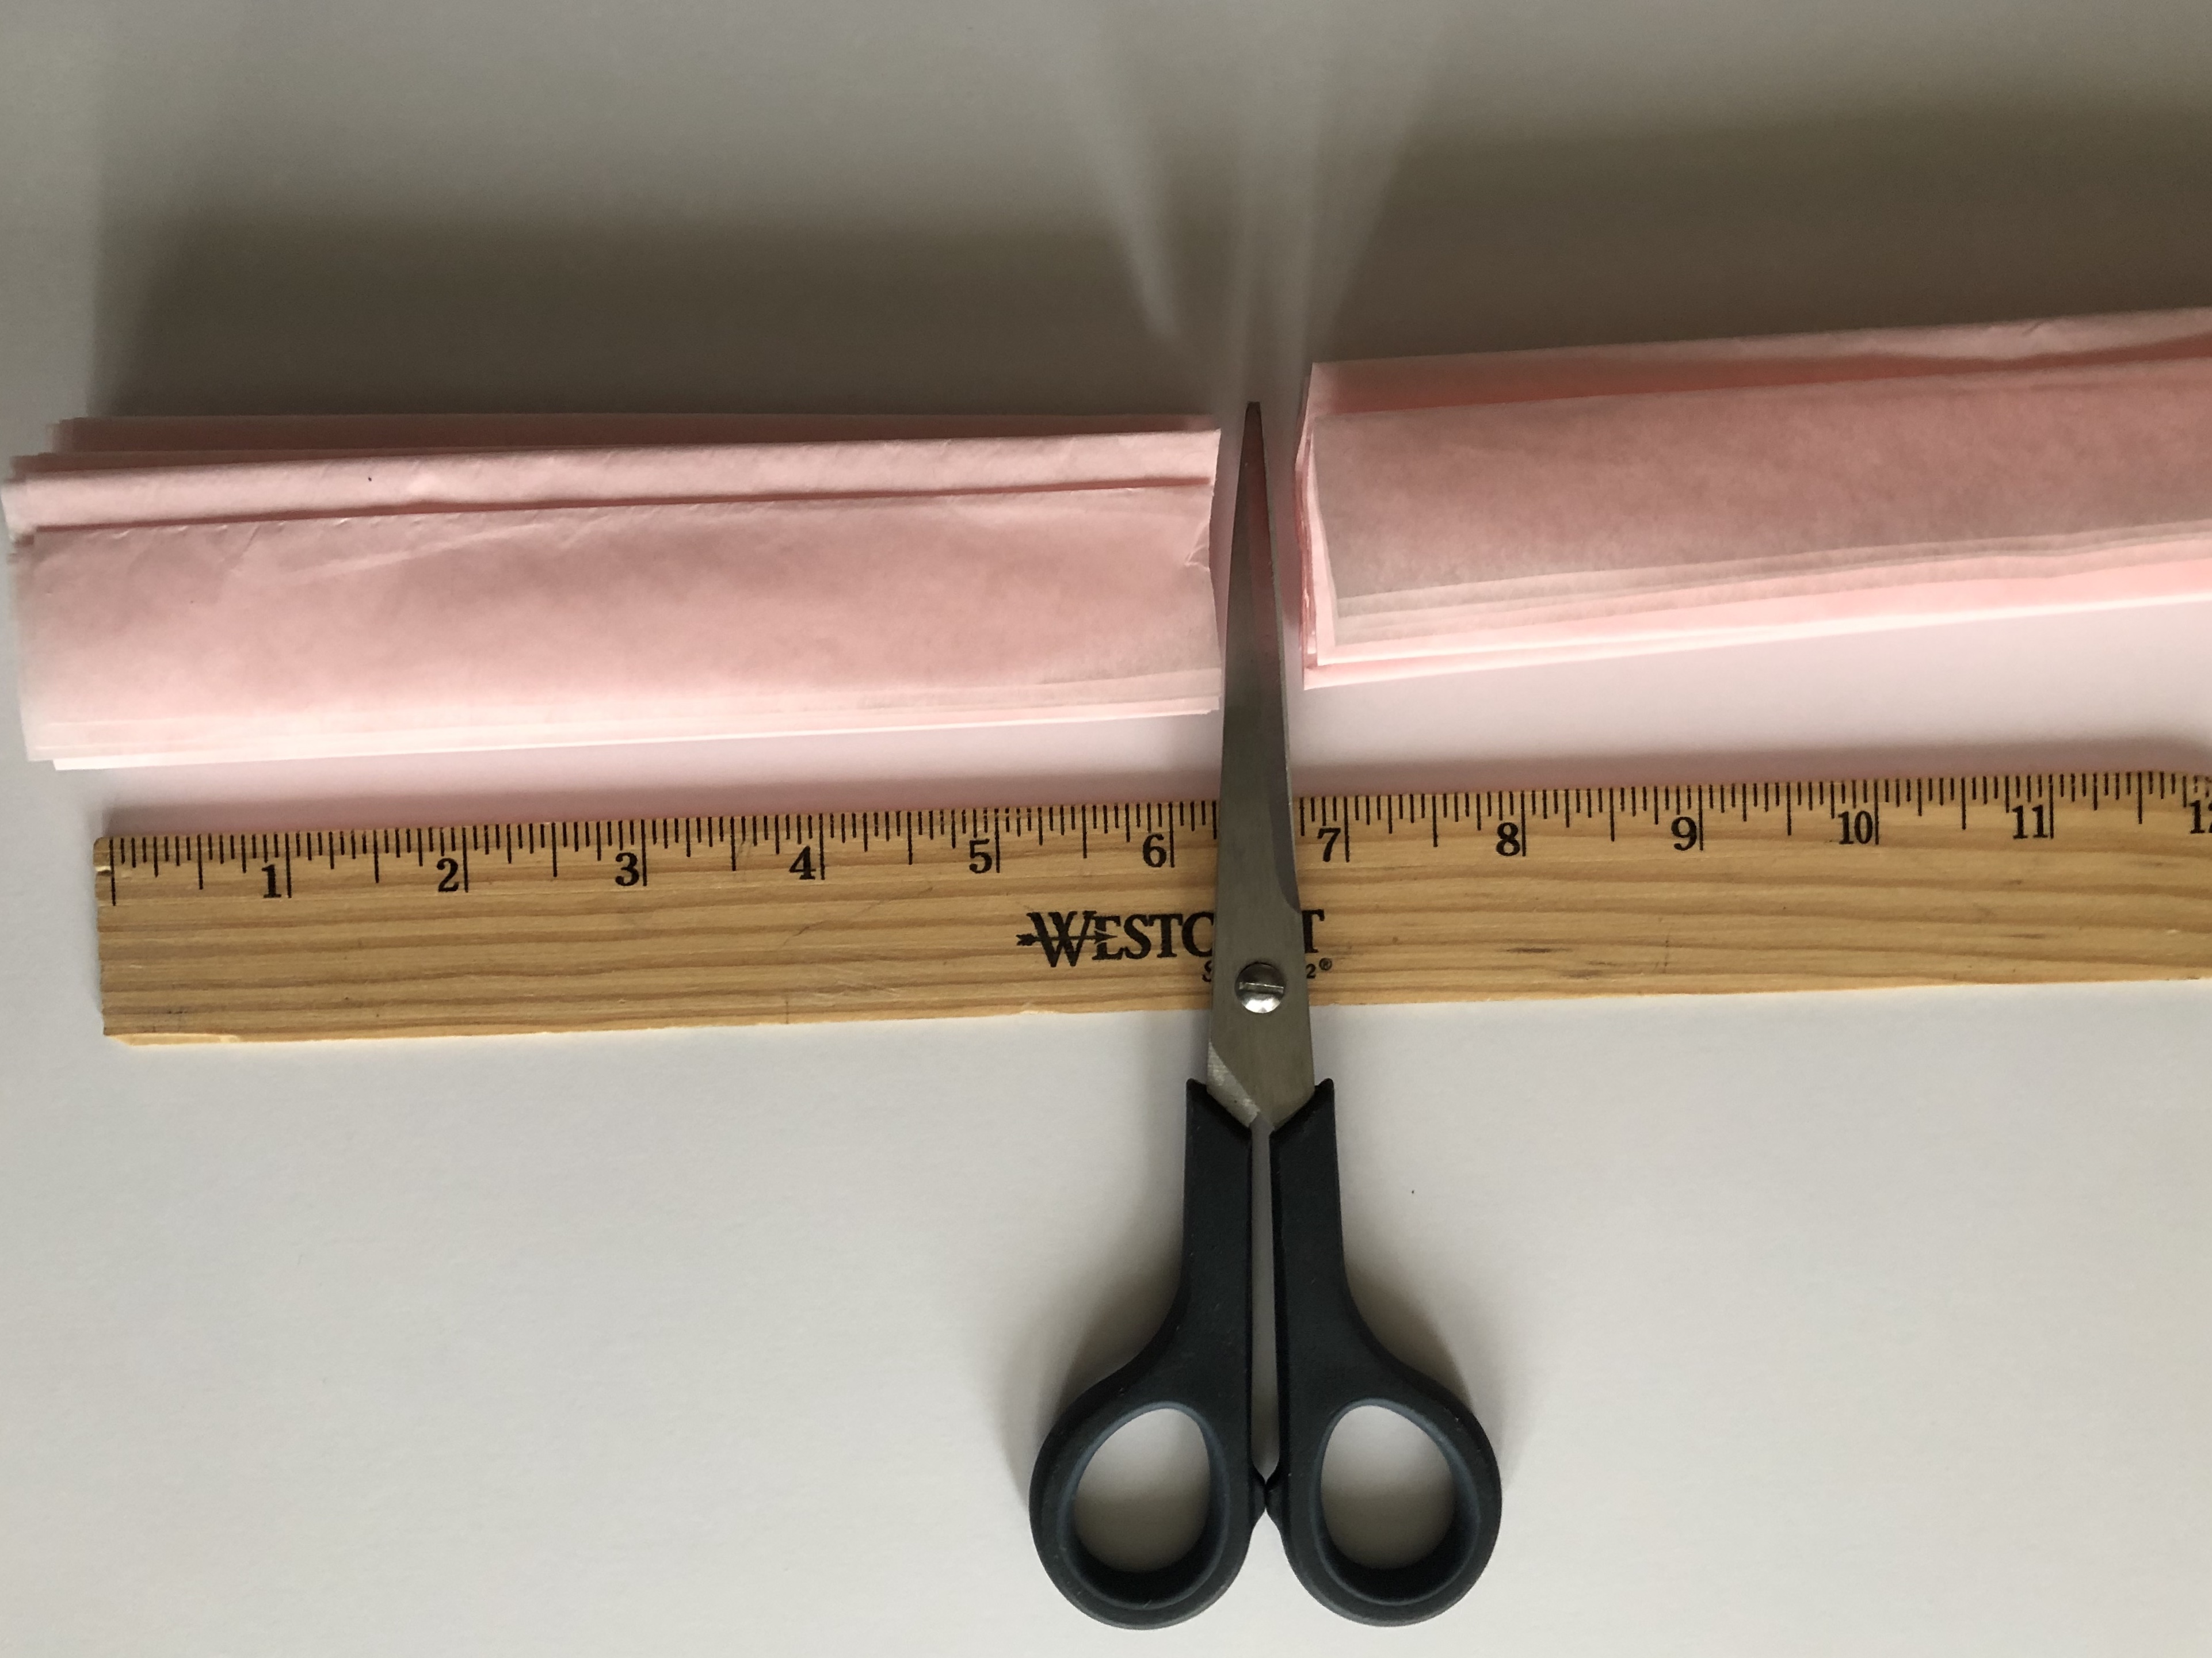
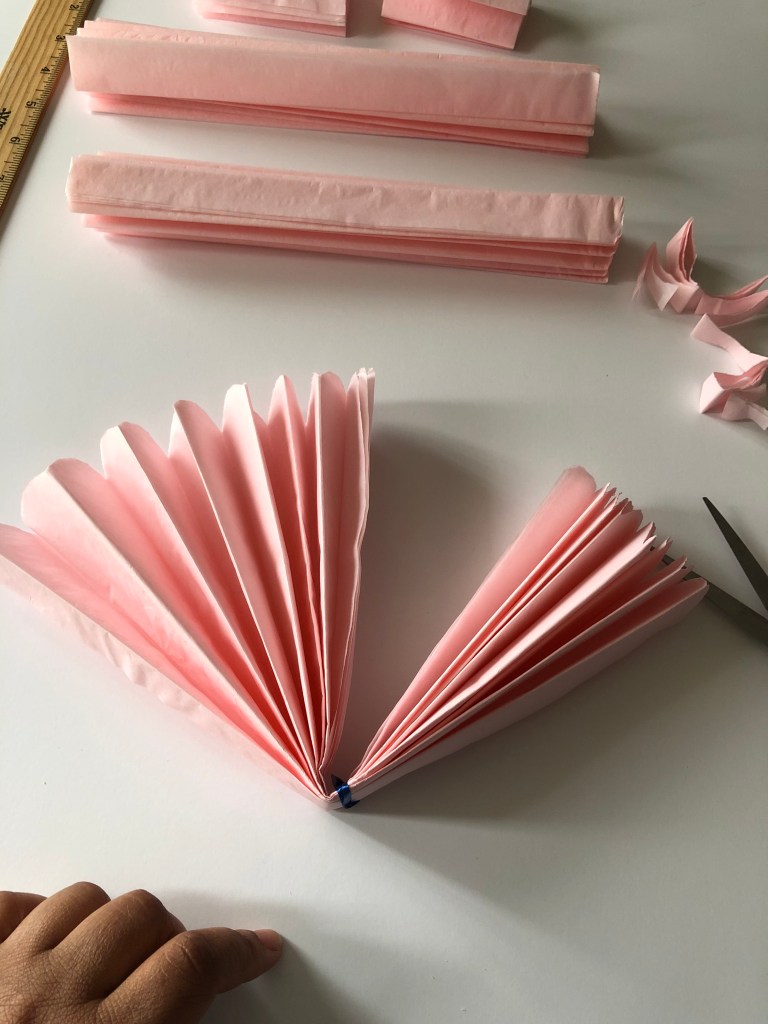
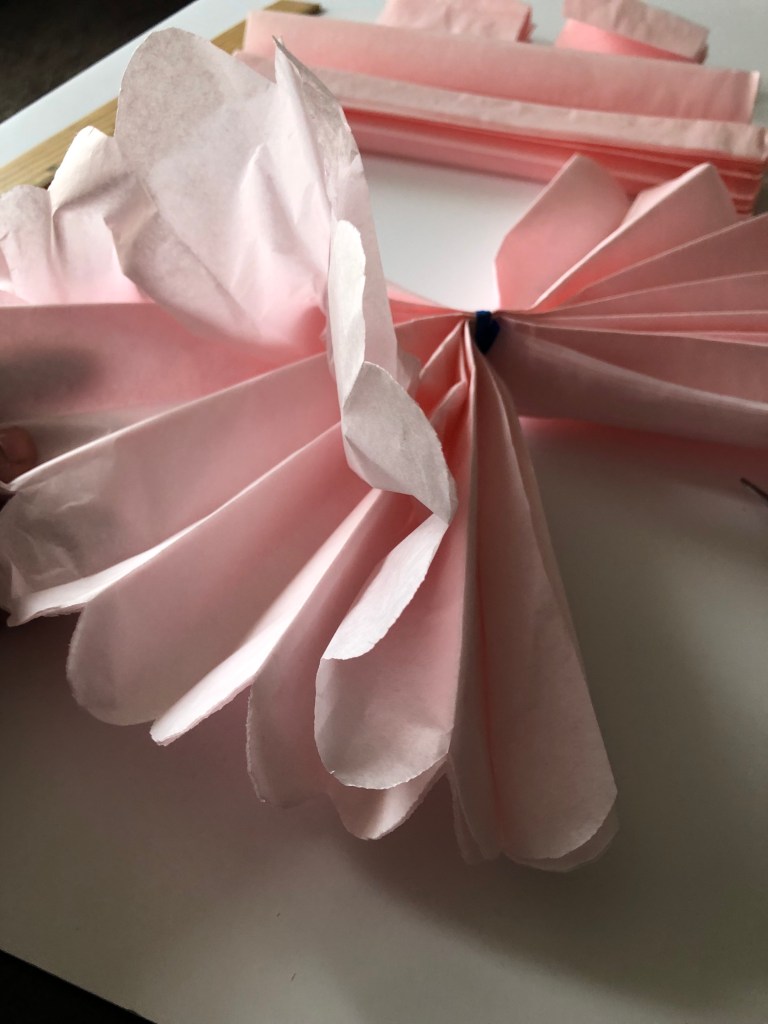
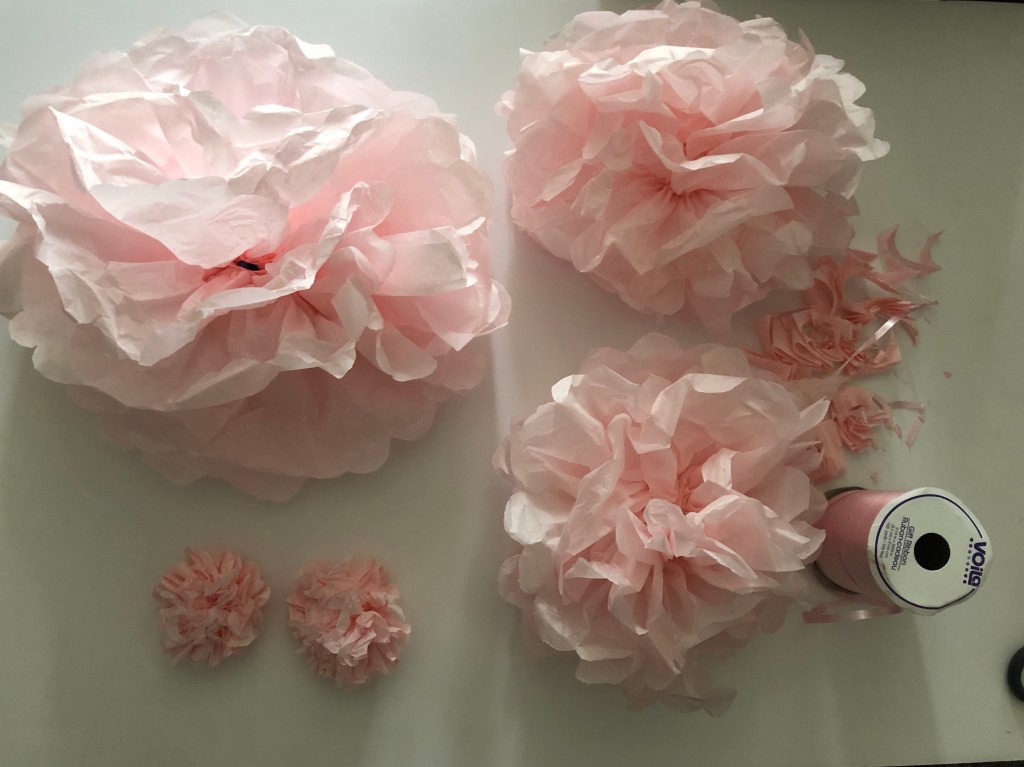
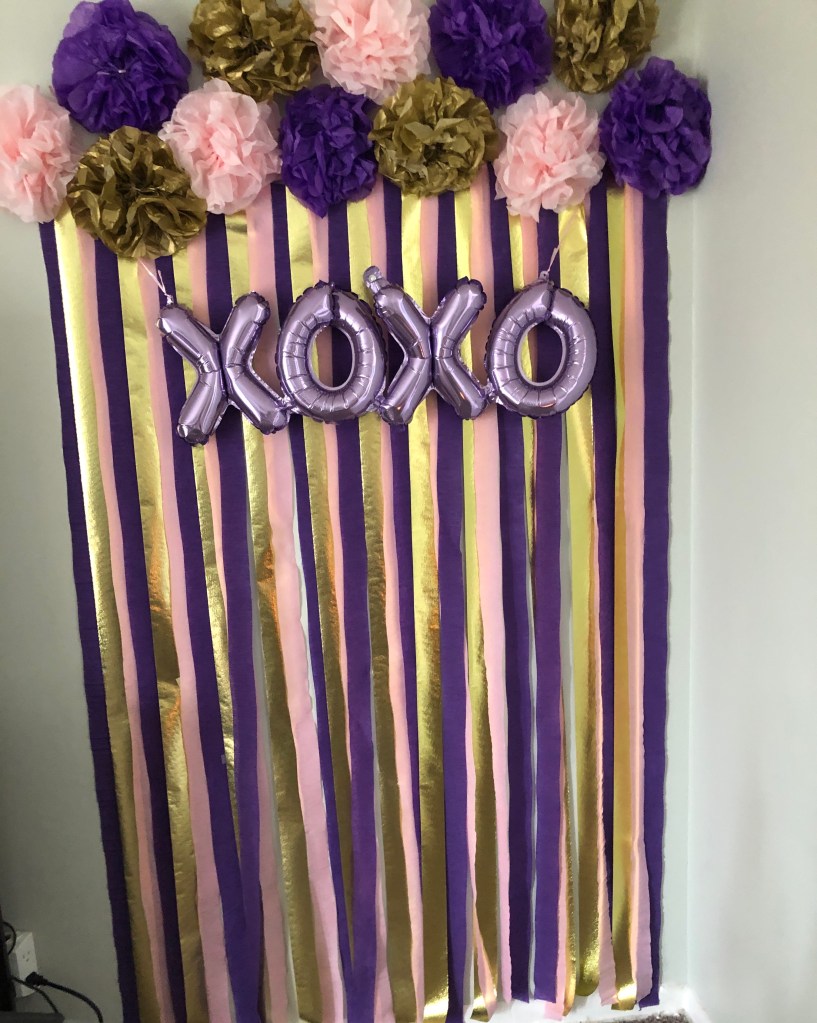
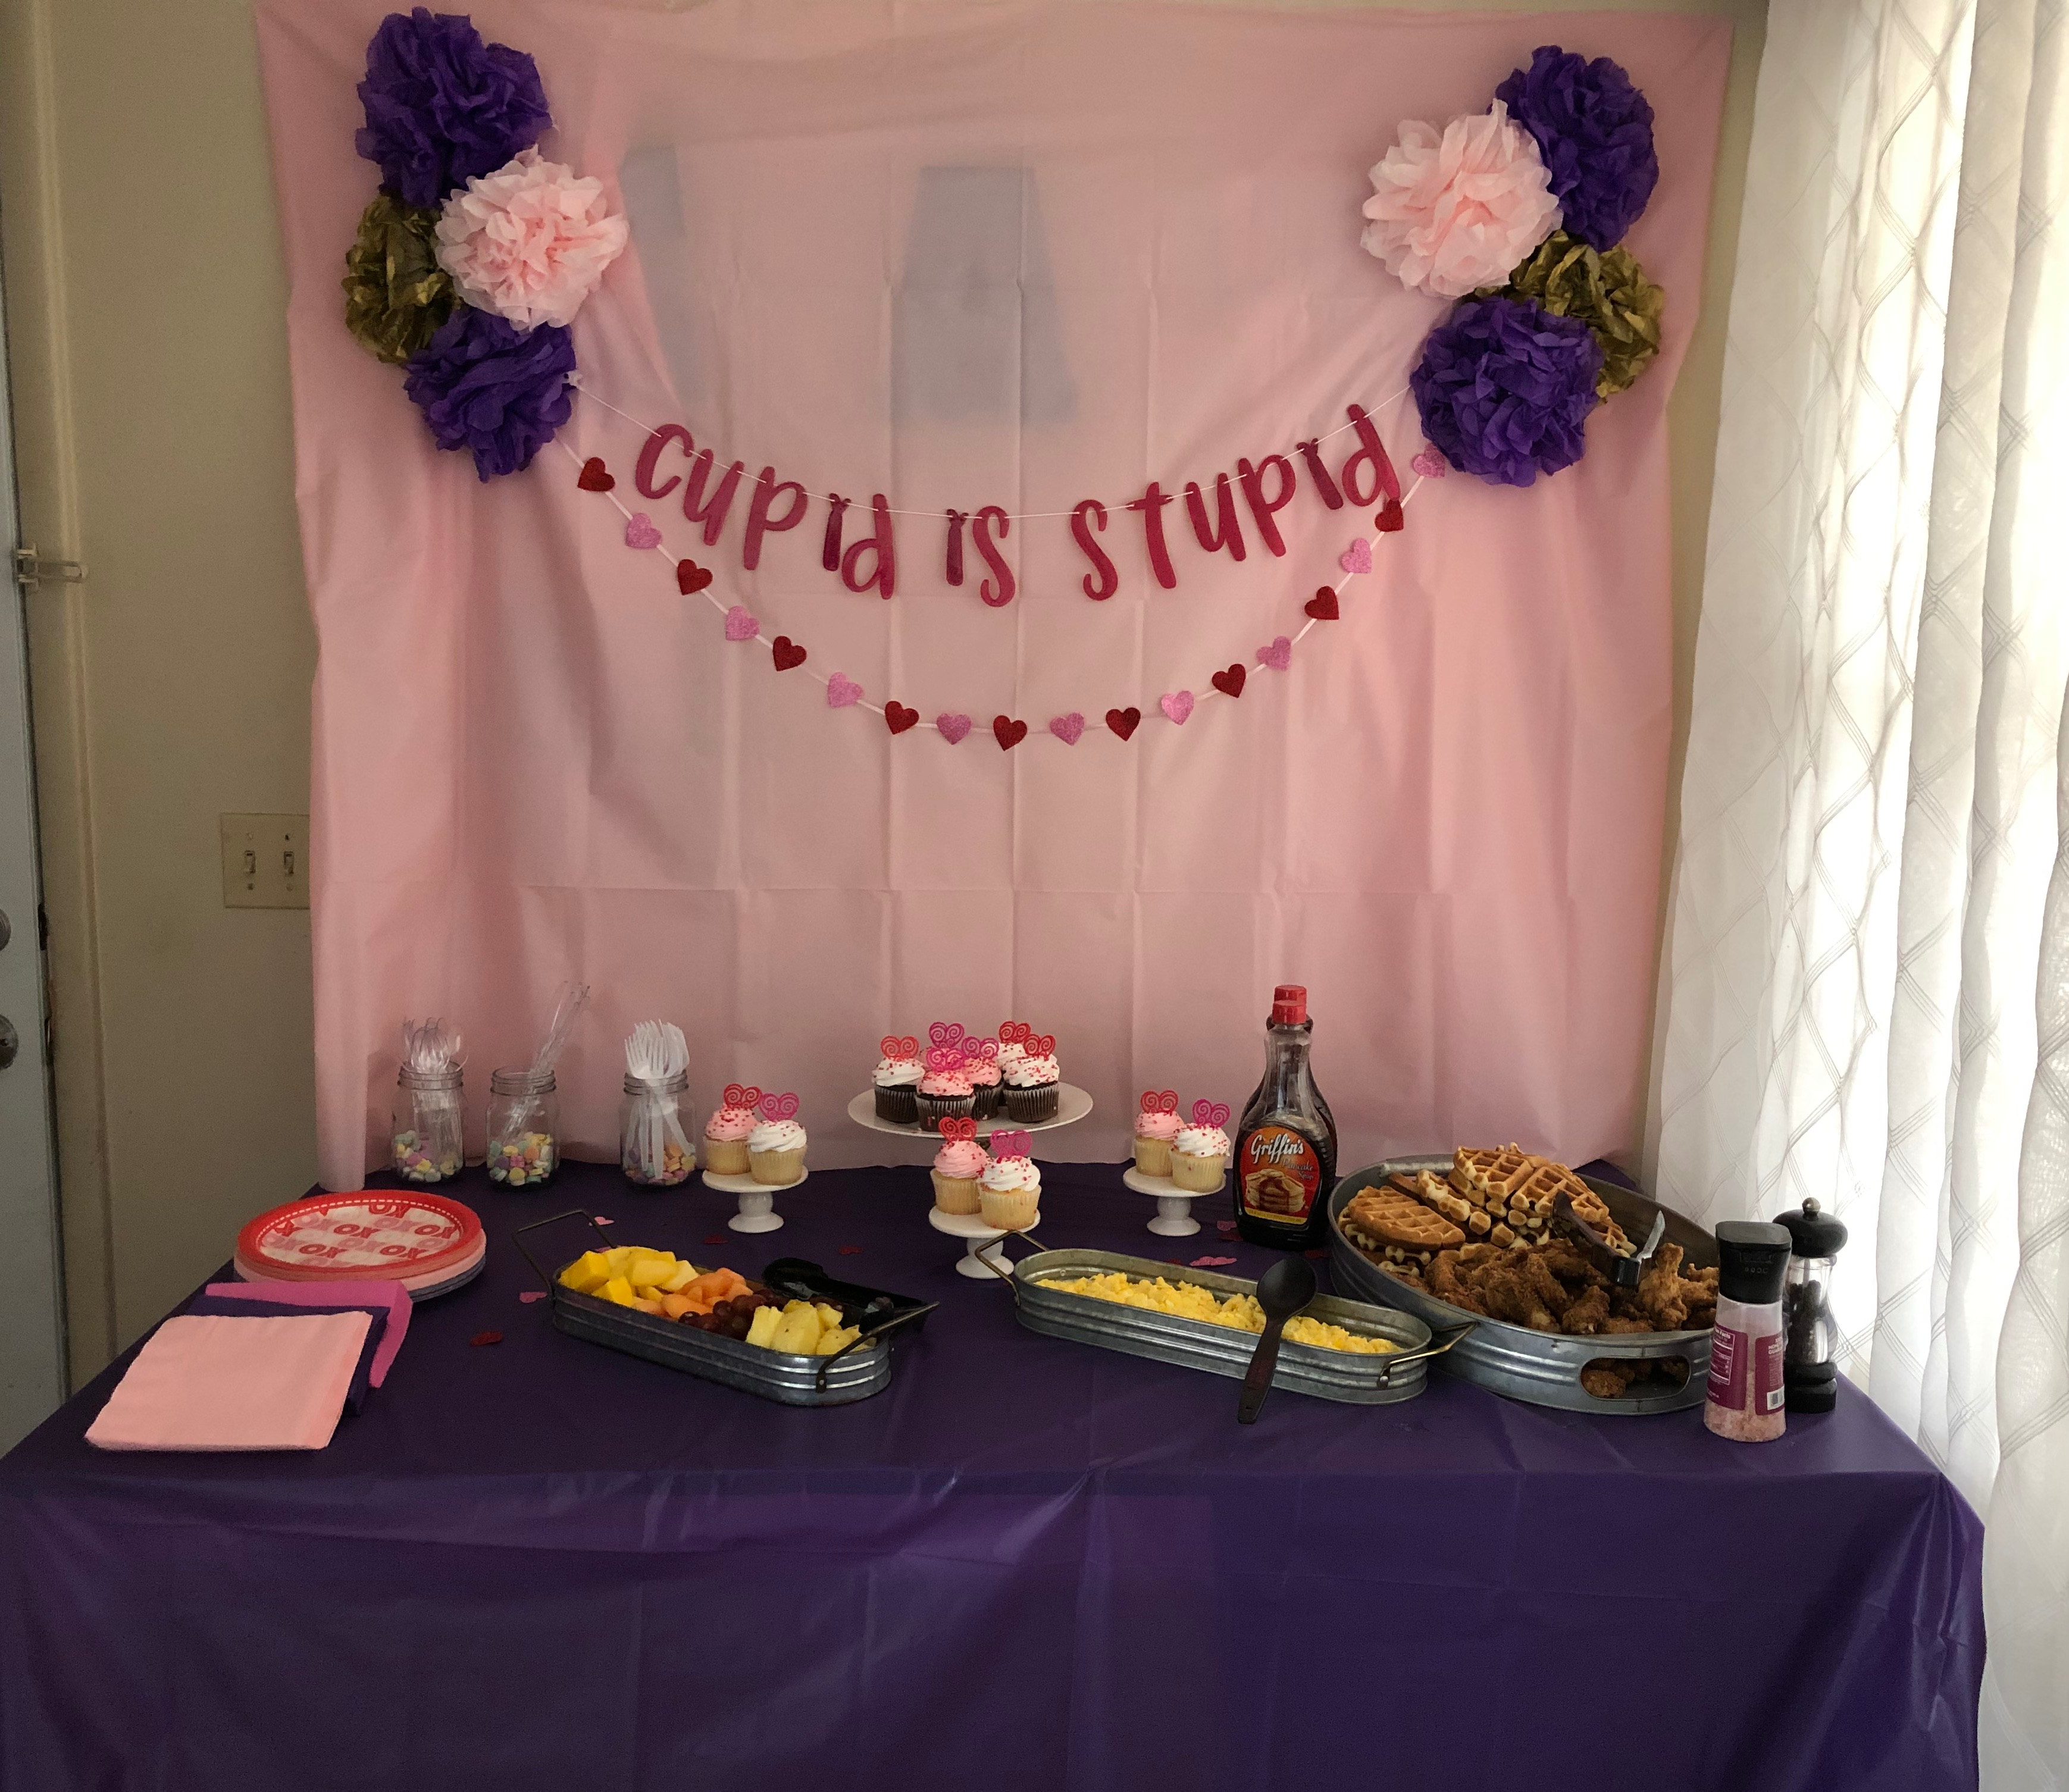
Decorations
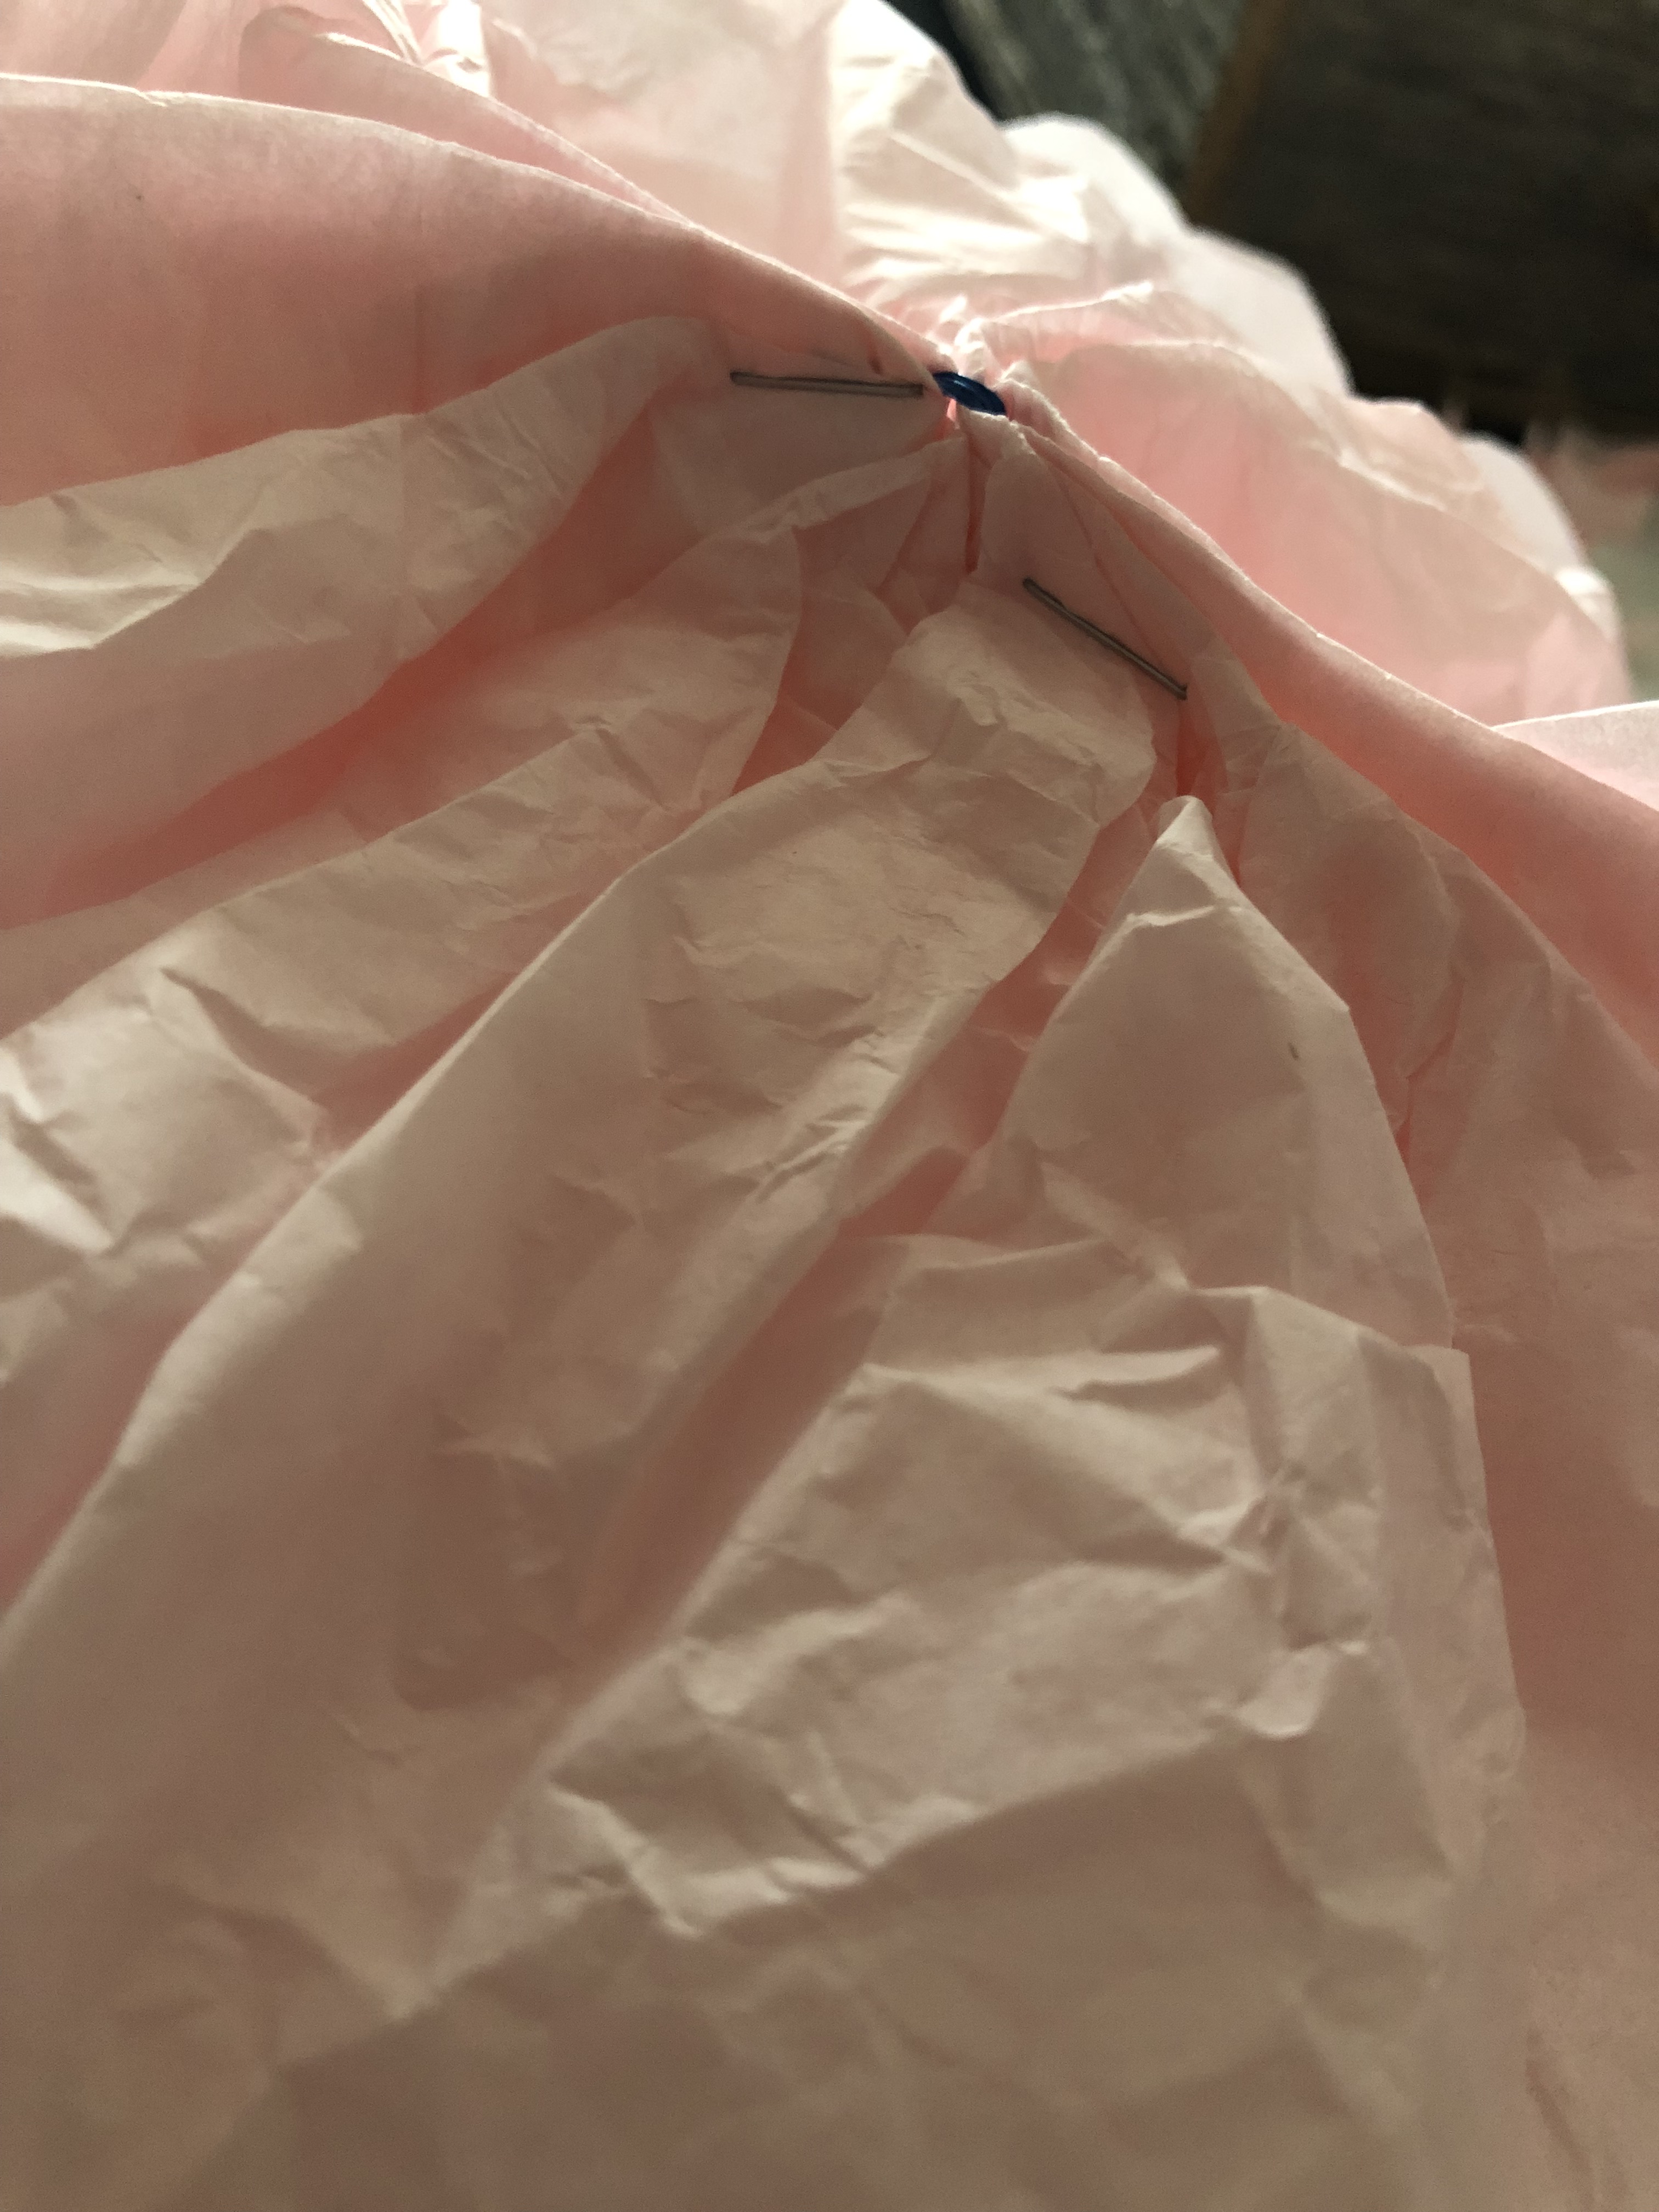
I wanted to keep the decorations very simple and easy to clean up. Paper products are always an inexpensive way to decorate. I stayed with the color scheme of my invitation through the decorations.
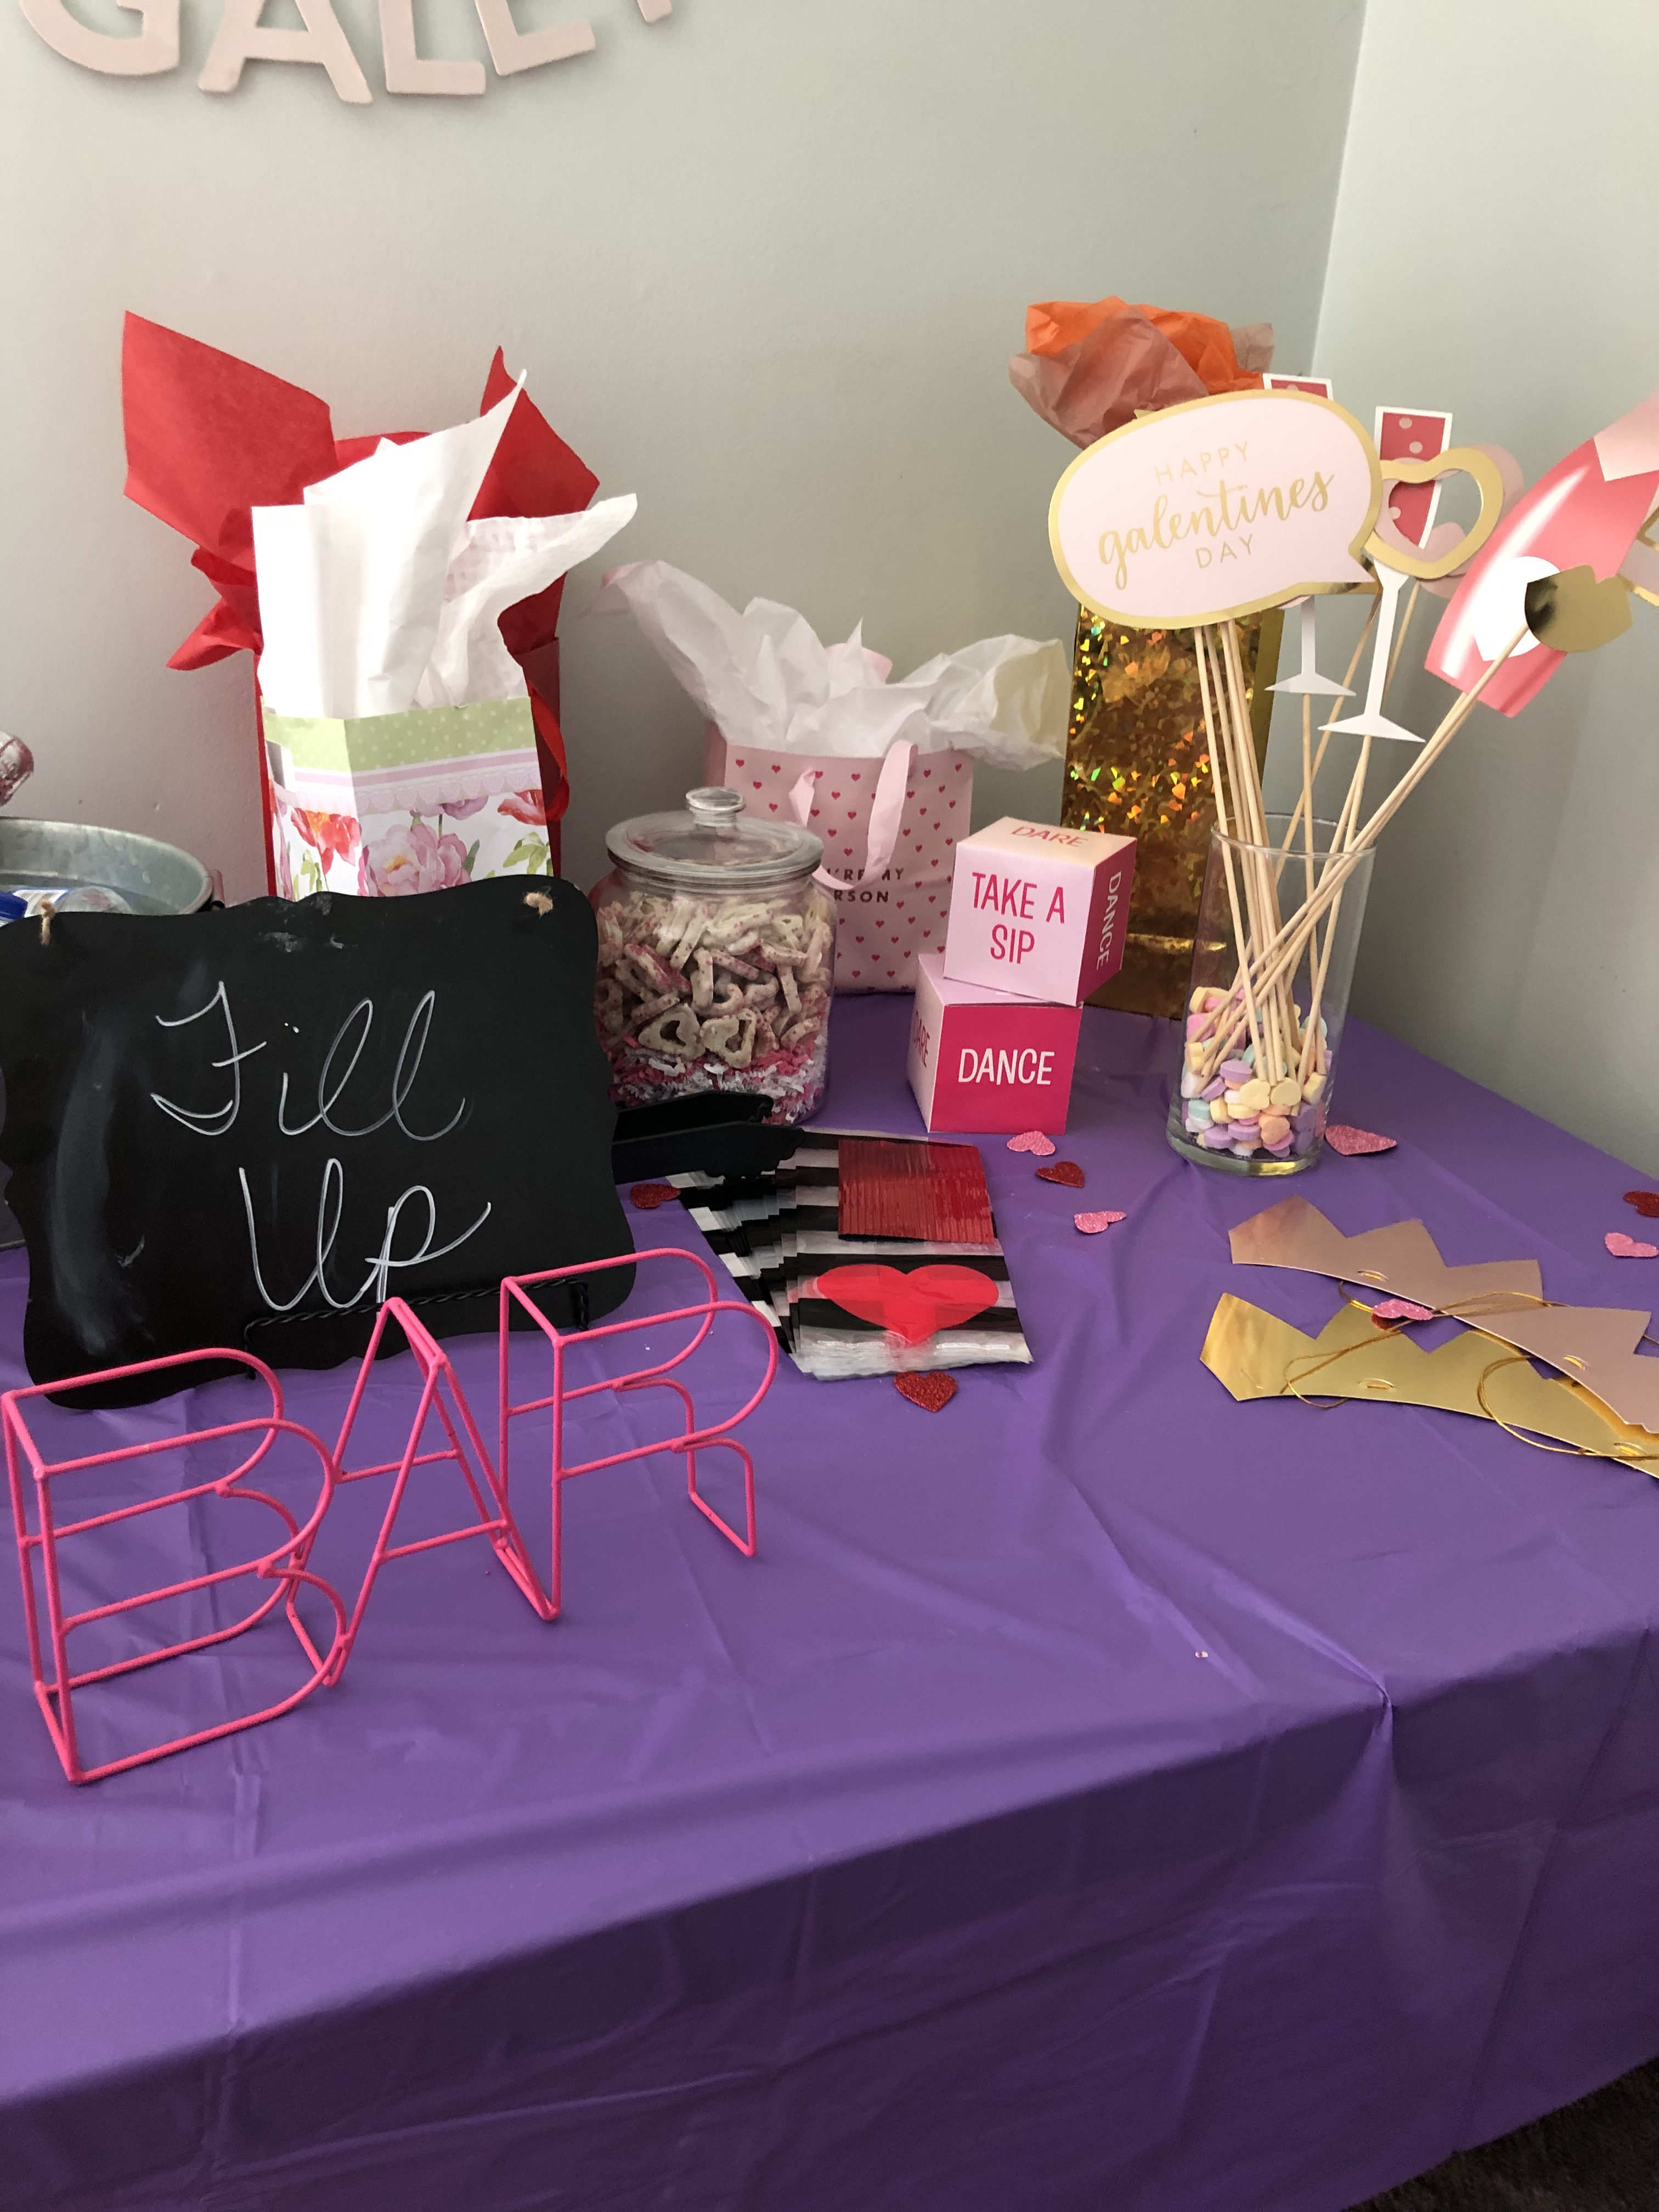

Don’t forget your photo backdrop!
Menu
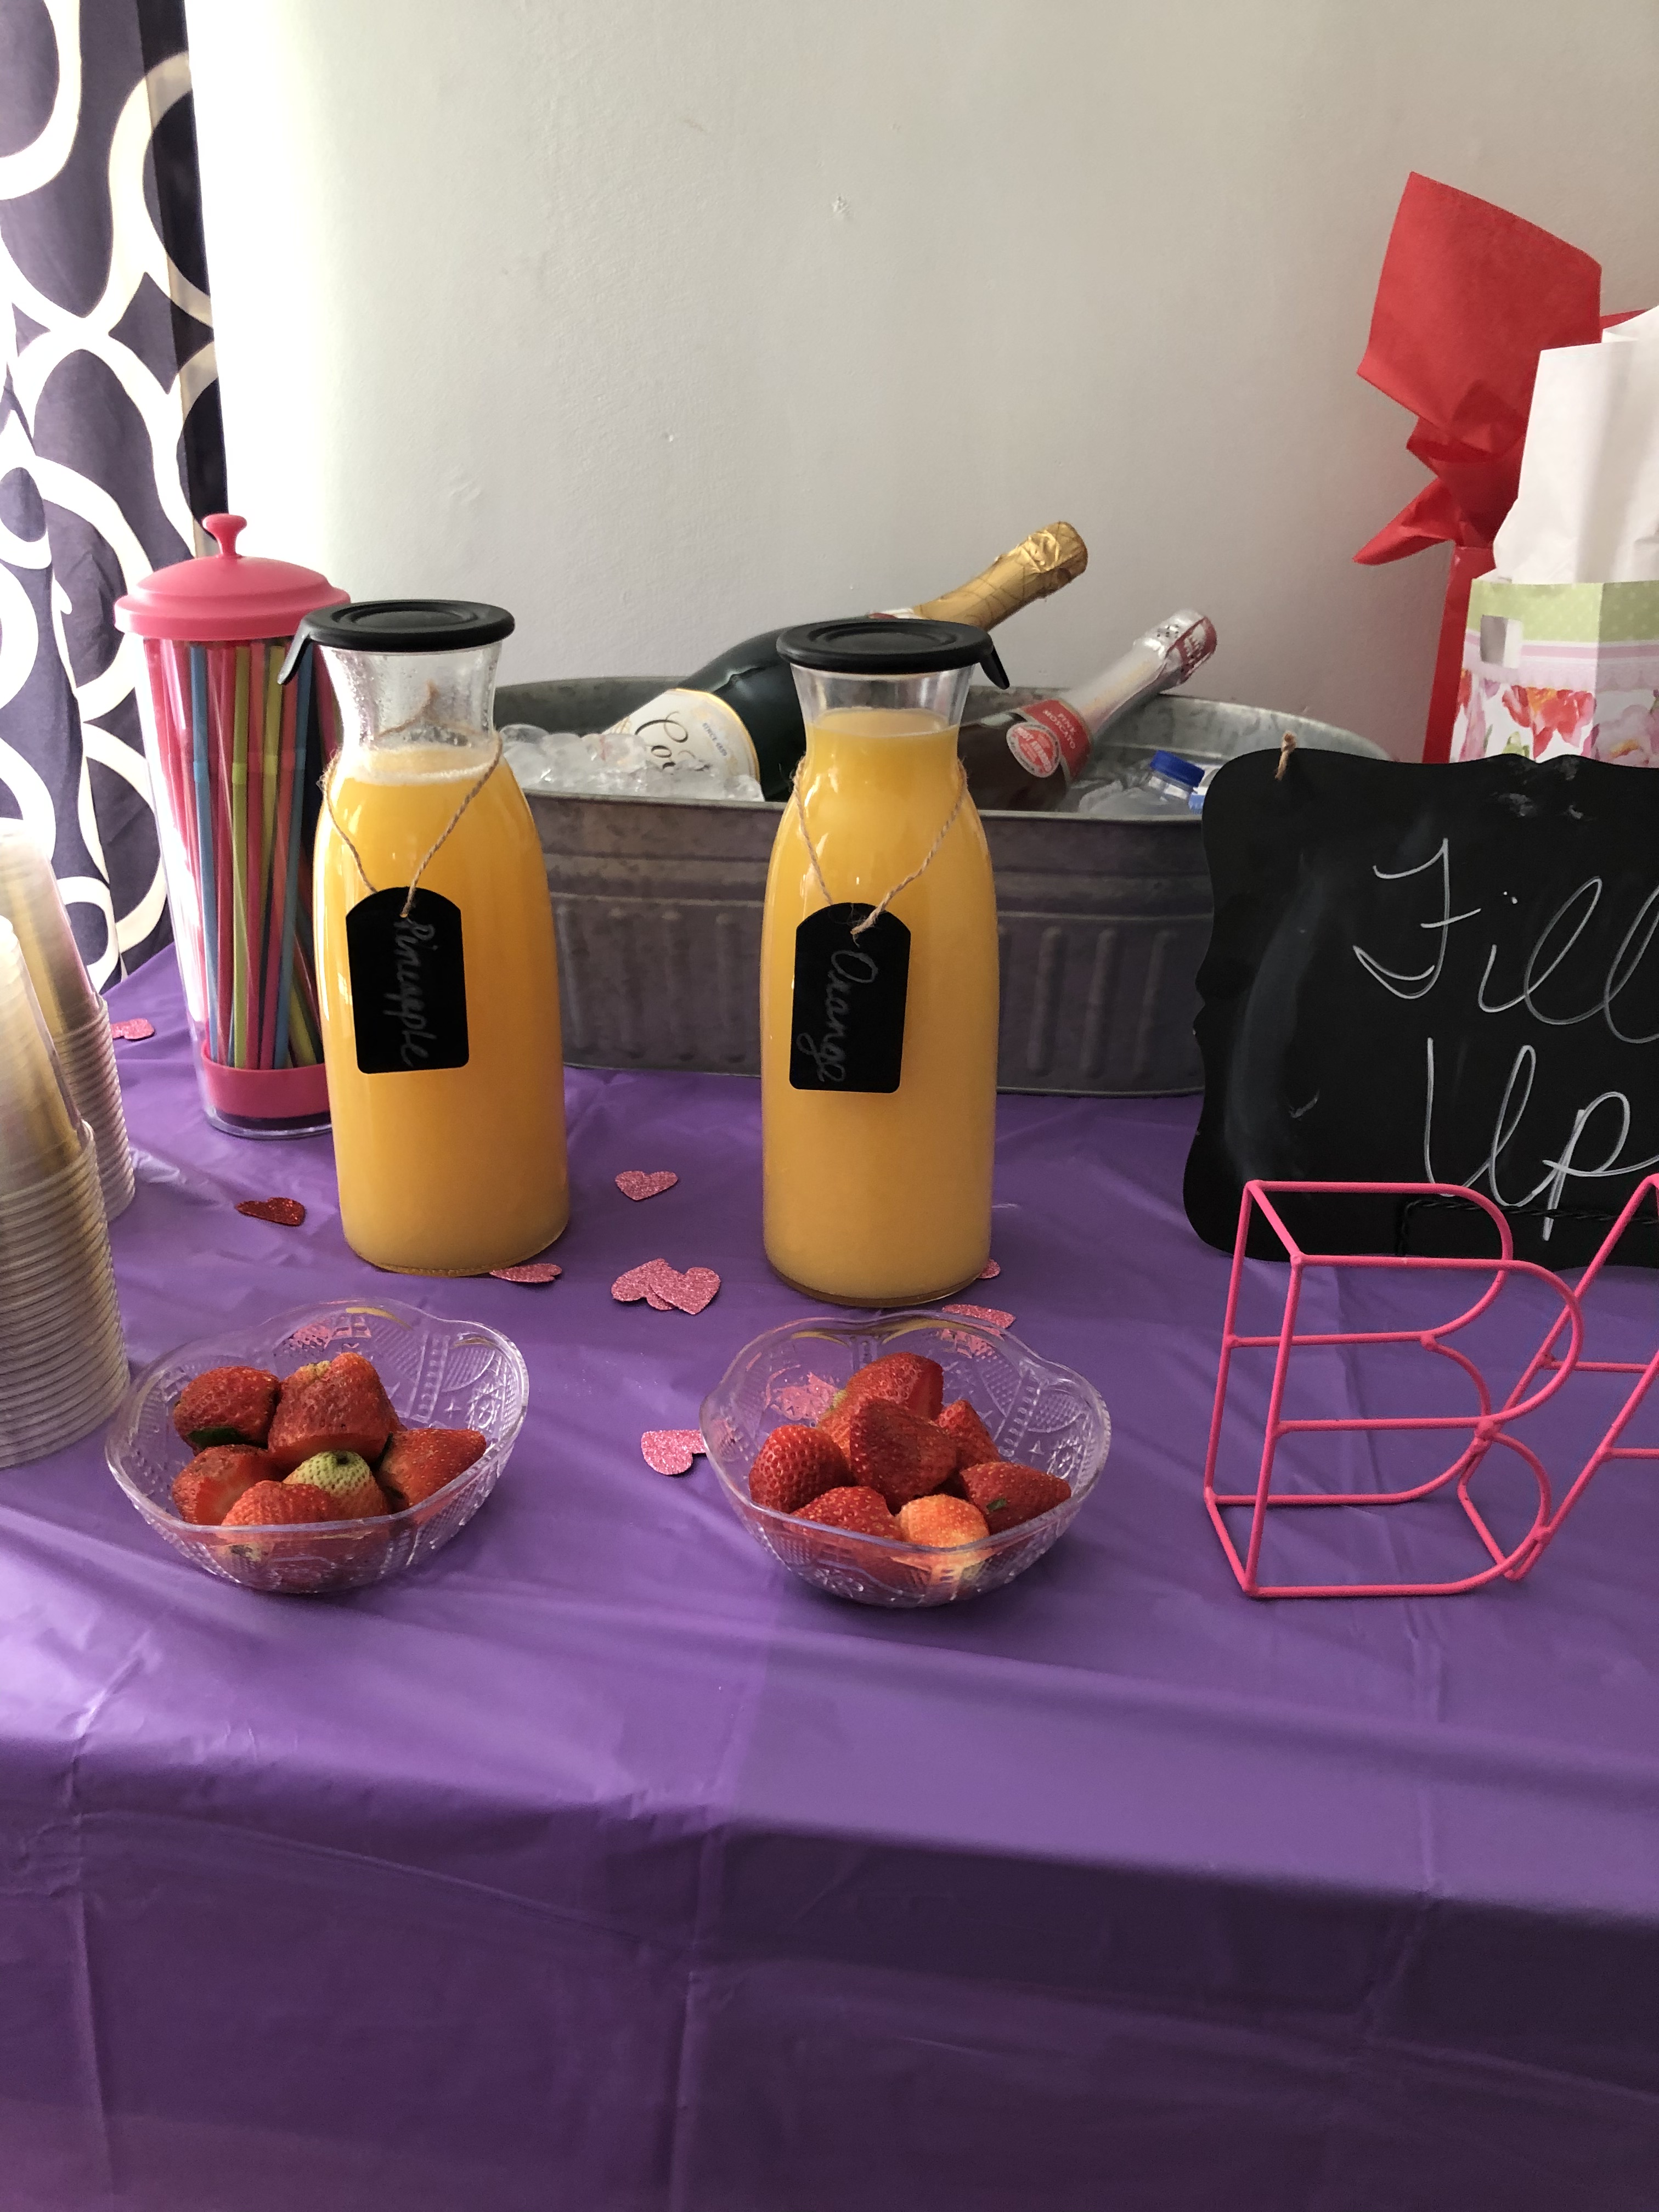
I live for brunch because it is the best of both worlds. I mean really, who doesn’t love a mimosa. I kept the menu simple and accommodating to most of my guest. One of my friend’s does not care for breakfast food, so I decide on chicken & waffles to include everyone in the mix.
A mimosa bar is a simple way to add a touch of bougie to any brunch. Invest in a carafe, it is a great hostesses item. Although, it took me into my adulthood to learn how to say it properly.
Activity
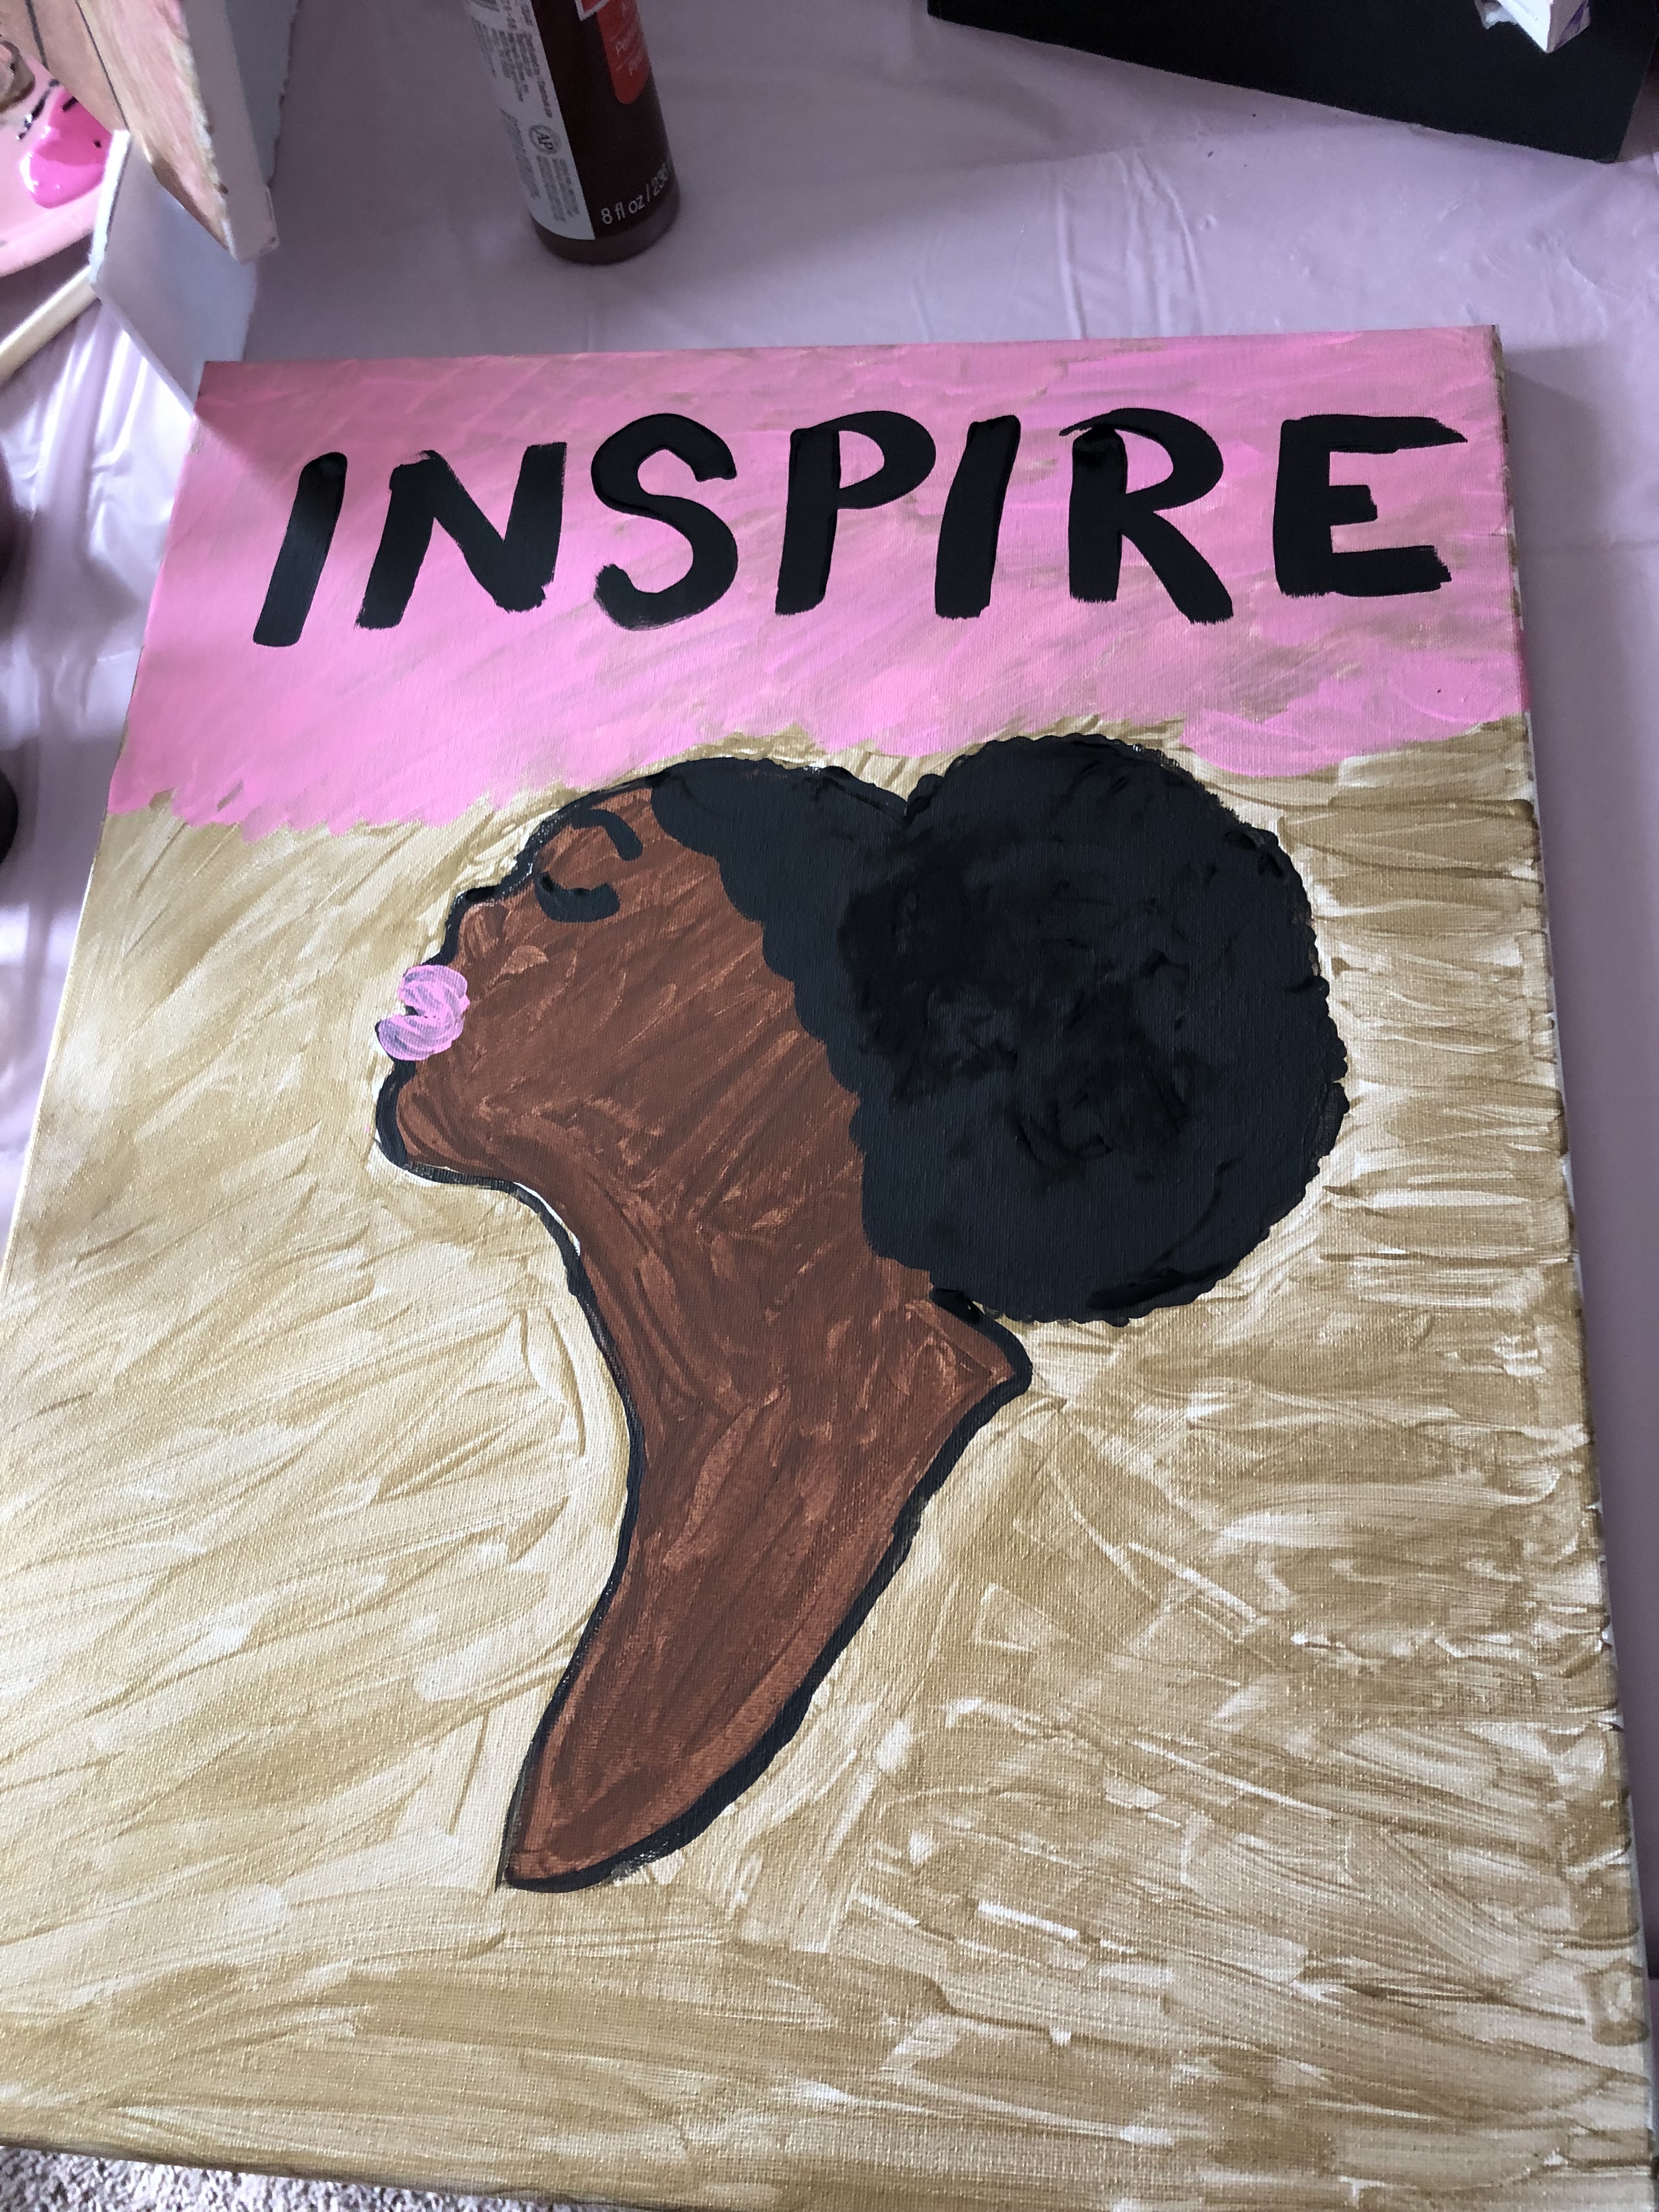
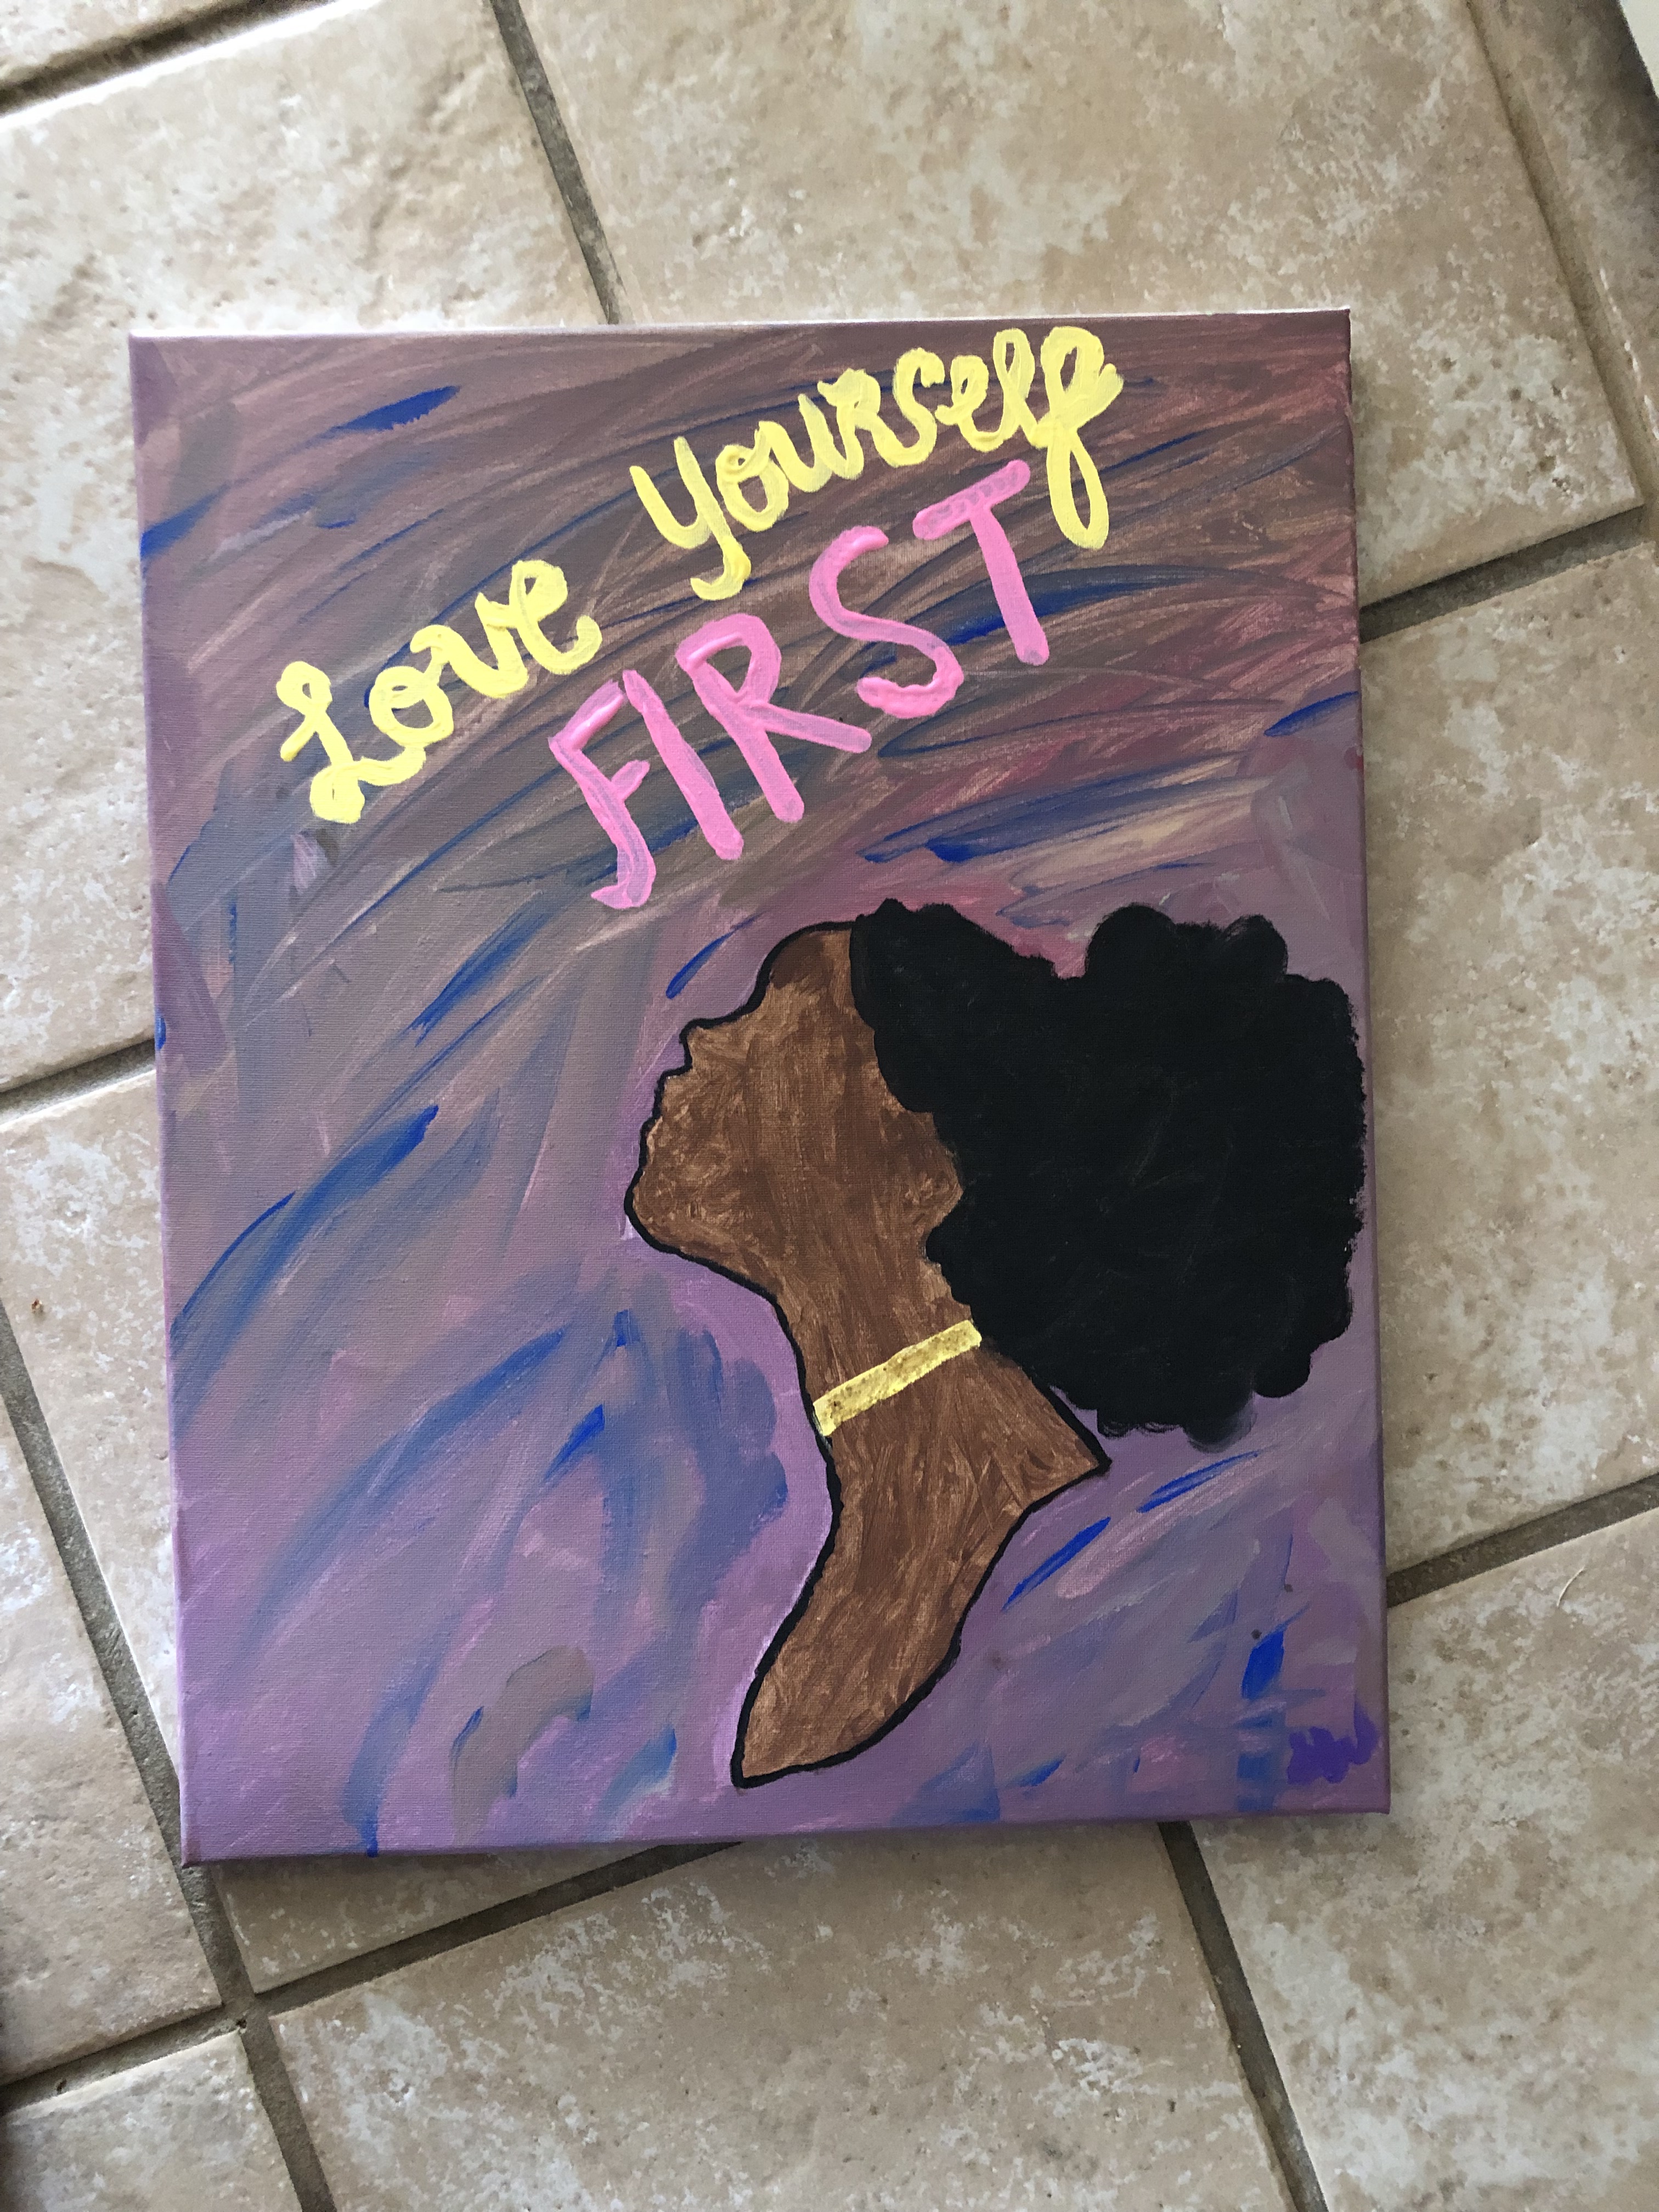
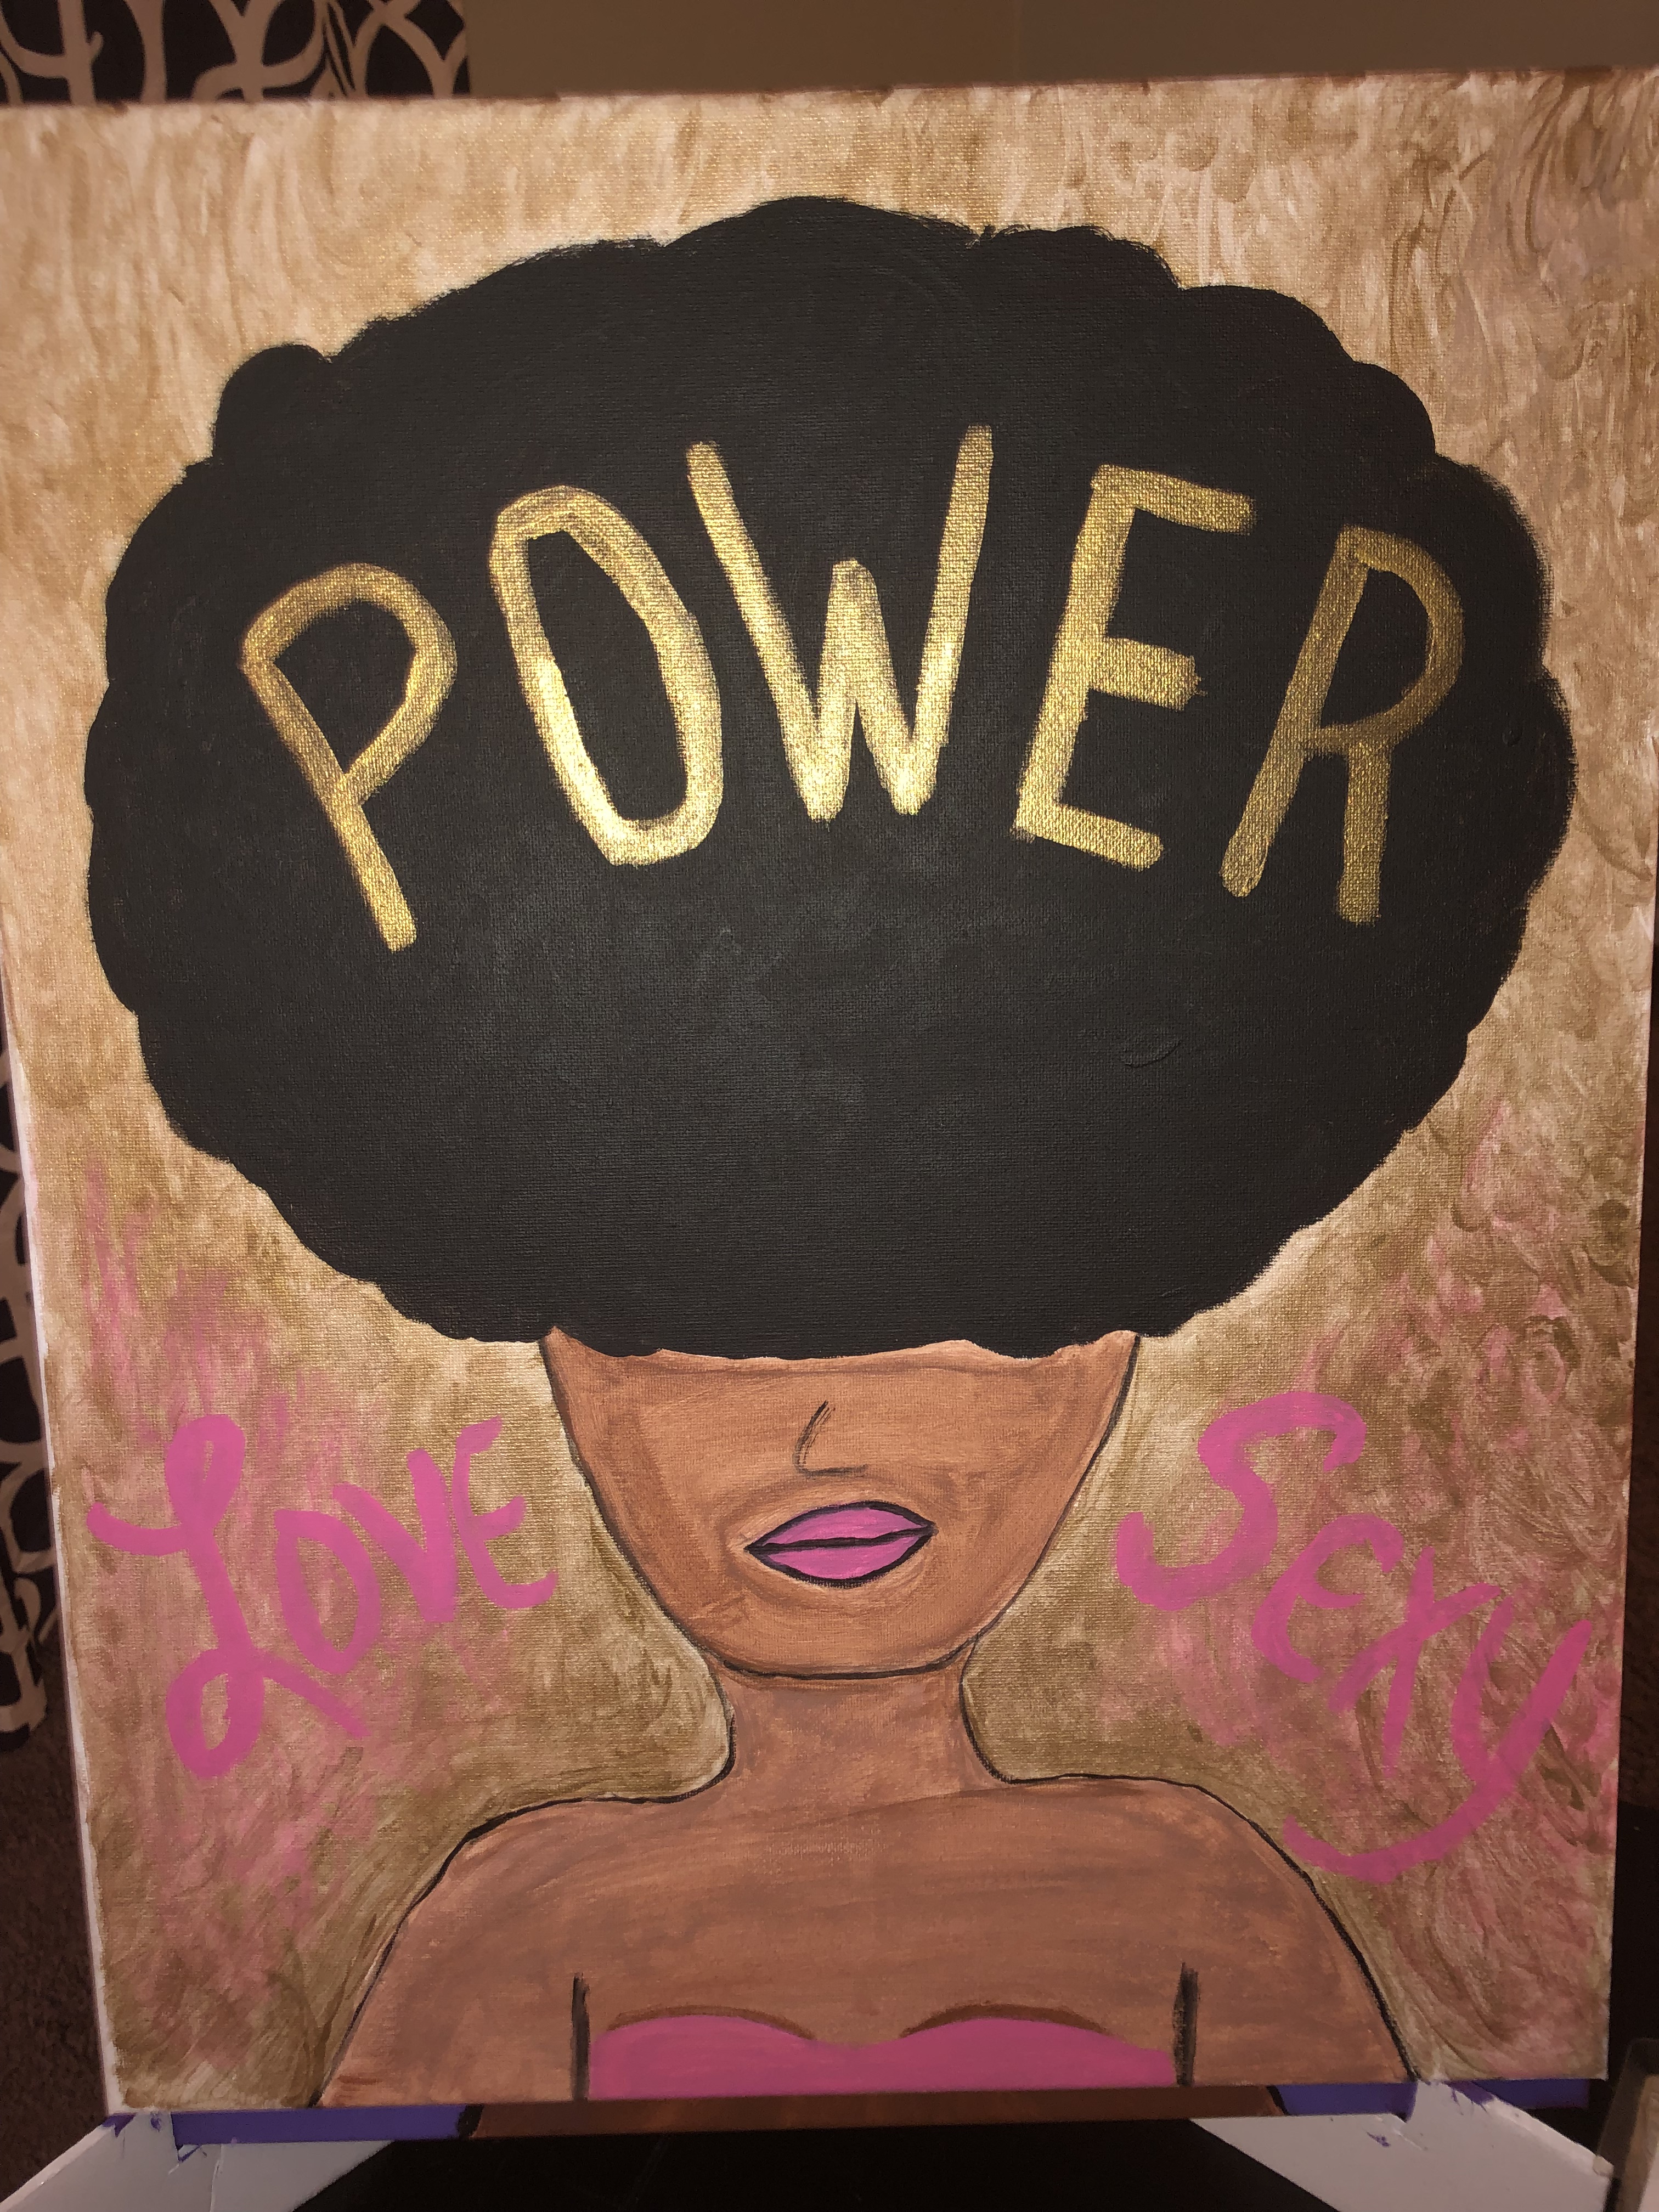
I picked an activity that could go over with everyone. Although, I love a good arts & crafts not everyone feels the same. I had stencils for the ladies because free handing can be intimidating. I gave them some instructions to get started but overall the painting was free range. I wanted them to let their creativity flow; making their canvas unique to themselves. The only ask that I had was that they choose a word or phase that was uplifting to themselves to up on their canvas. It’s Galentine’s Day! It was all about uplifting each other.

We had conversation cards to keep the brunch engaging. Each lady throughout the brunch would read their respect question and give an answer to the group. It was an inviting way to get to know one another. Some of the questions were: “Would you rather live a life with no inhibitions or a live a life with no stress? and “What is the most annoying personality trait someone can have?” The answers/stories, mixed with mimosas, made for some good laughs.

Frugal Fran Tip
Save a few coins by making your own tabletop easels. Purchase foam boards and duct tape from you local dollar tree.